OCR
CONTENTdm provides an extension that enables the Project Client to generate file transcripts by using Optical Character Recognition (OCR). This allows the text characters in an image file to be searched.
Additionally, when an end user searches for a term generated by the OCR process, the term is highlighted in the image. Search term highlighting is not supported for Chinese, Japanese, and Korean.
For compound image objects, the OCR extension also provides an option to create a PDF with embedded OCR text.
For information about how to use OCR processing on items already in your collection, see Add OCR to Items in a Collection.
The accuracy of OCR is dependent upon:
- The quality of the scan
- The quality of the original document being scanned
- Whether the characters being recognized are typewritten, computer-generated, hand-printed, or cursive
- The font face of the typewritten or computer-generated text
OCR can be performed on JPEG2000, JPEG, GIF, PNG, and TIFF files.
Support languages
CONTENTdm OCR supports the languages below.
Activate and move OCR
Optical Character Recognition (OCR) is provided by the CONTENTdm OCR Extension, powered by the ABBYY® FineReader®. A standard CONTENTdm subscription comes with a basic OCR license for 10k pages per month. You can buy additional licenses or a higher-page-count license.
Activate OCR
- Open the Project Client and open any project.
- Access the Project Settings Manager, and click the OCR tab. The OCR page displays.
- Click the Activate Software License button to display the ABBYY SDK 12 License Manager dialog box.
- Click Activate License… button to bring up the Activation Wizard. Follow the on-screen instructions to finish activating the OCR license.
- The license will appear as activated in the License Manager.
-
- Image:
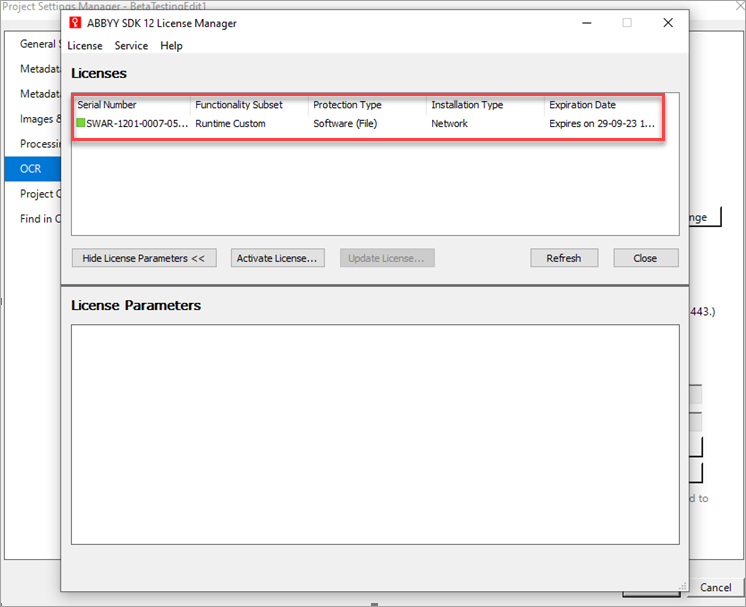
-
- Close and then restart the Project Client.
Deactivate and move an OCR license to another installation
Each regular Software OCR license can be activated on only one installation of Project Client at any given time. The OCR license must be deactivated (cleared) before it can be activated in a new installation, either on another computer or on the current computer that upgraded its operating system and had Project Client reinstalled. If you are reinstalling Project Client on the same computer under the same user account, you do not usually need to deactivate and reactivate the OCR license.
Typically, deactivating an OCR license happens when staff responsibilities change, and the license needs to be moved to another computer, or when a staff member's computer is upgraded or replaced. Deactivation and reactivation will not affect the monthly page limit provided by your license.
Deactivate (clear) a Software OCR license
- Open the Project Client and open any project.
- Navigate to Project Settings Manager > OCR.
- Click the Review License button to view the OCR license information.
- Right-click on the license serial number and select Deactivate... from the pop-up menu.
The deactivated OCR license can be moved to another workstation, or a different OCR license can be activated from the OCR screen in Project Settings Manager.
Virtual machine users
If you are using a Virtual Machine to use the OCR function in Project Client, the regular Software license will not work. Request an Online license and follow the instructions below to activate and deactivate Online licenses.
Activate an Online OCR license
- Open the Project Client and open any project.
- Navigate to Project Settings Manager > OCR.
- Open the zip file you received for your license.
- Open the password.txt file. Copy the password and paste it into the Password field. Click Save.
- Click Add in the License File field and choose the file in the zip folder with the ActivationToken extension.
- Click OK at the bottom of the screen.
- Close and then restart the Project Client.
The license will then appear activated on the OCR settings page in the Project Client.
Deactivate (clear) an Online OCR license
- Right-click the Project Client icon and select Run as Administrator.
- Open any project.
- Navigate to Project Settings Manager > OCR.
- Click the Clear Online License button.
-
- Image:
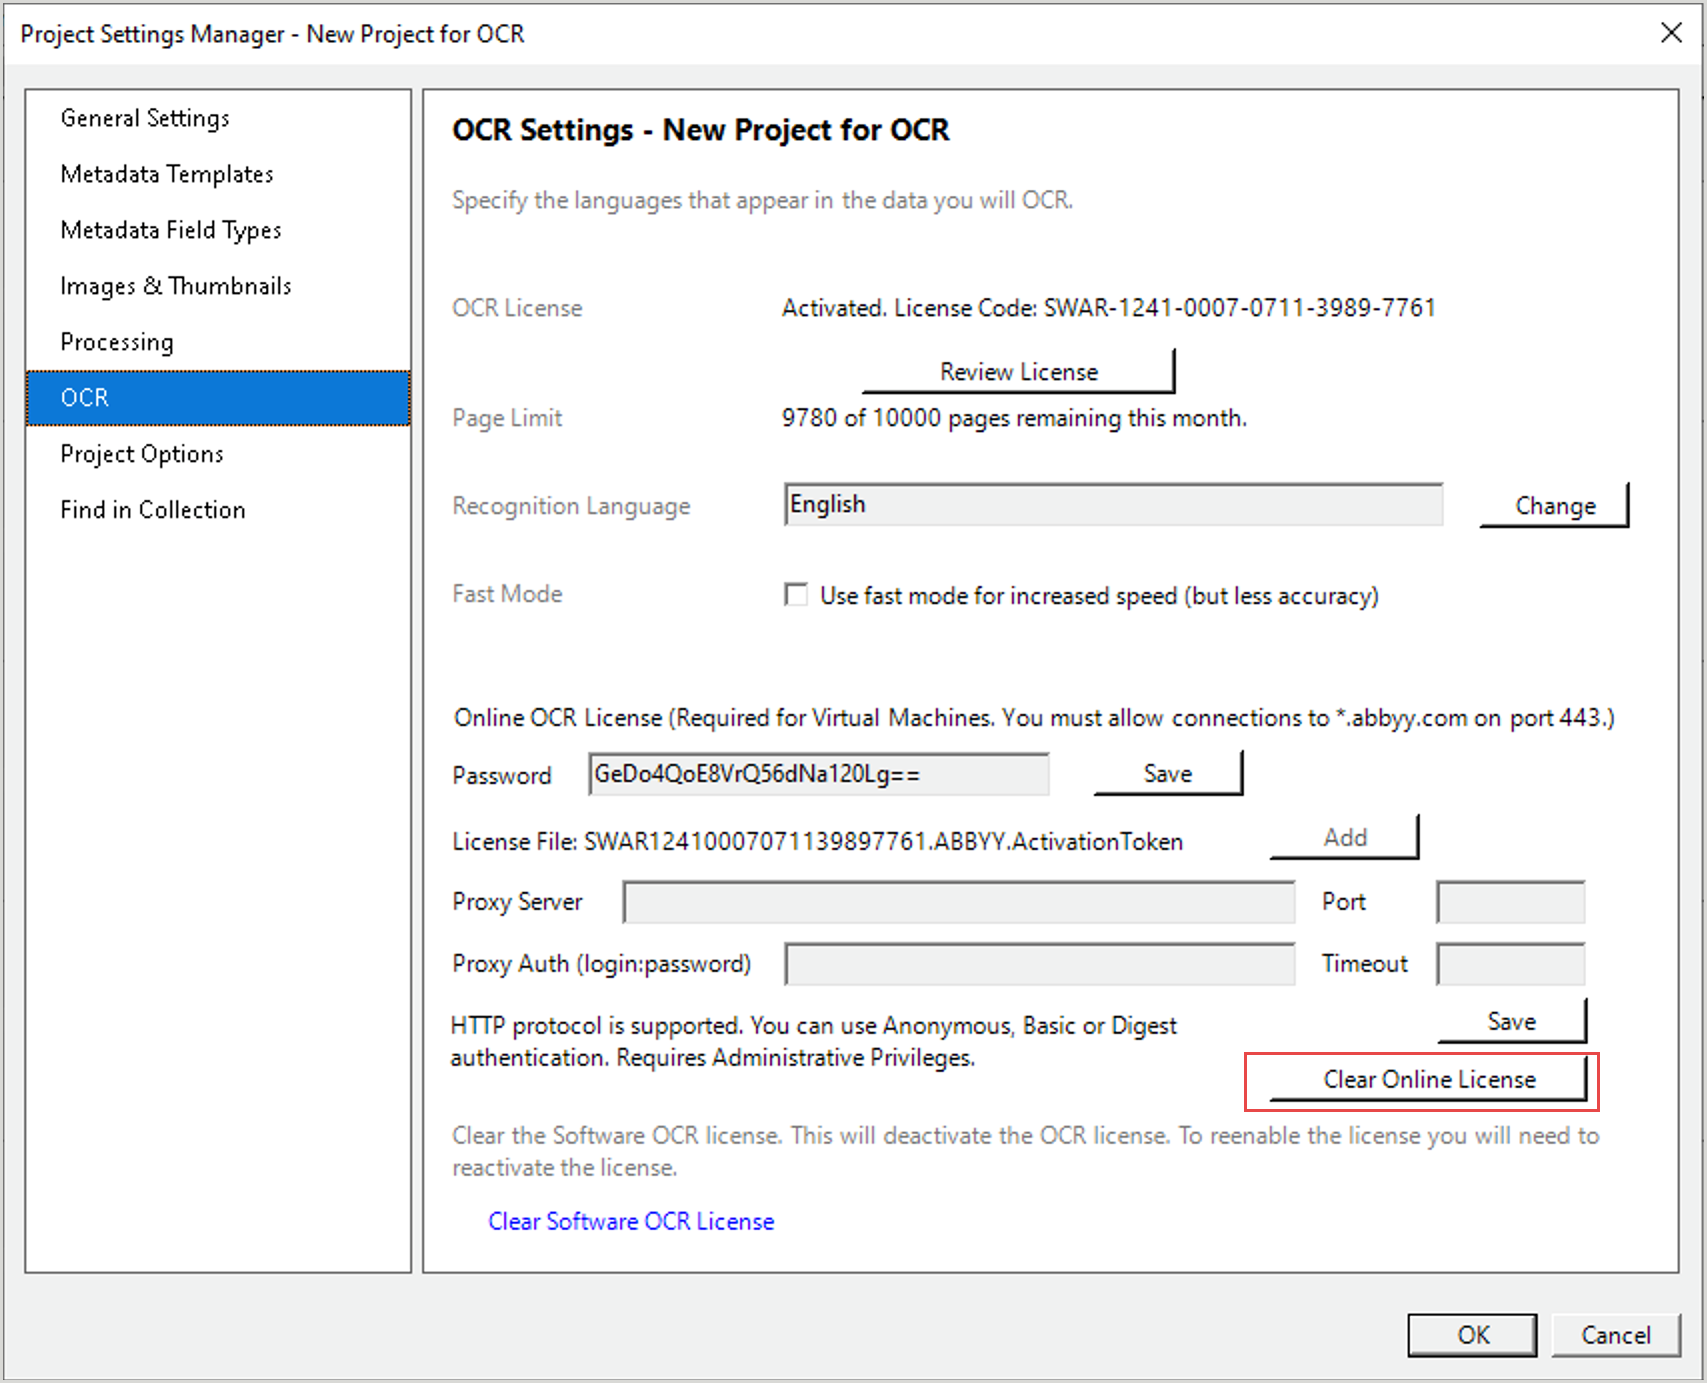
-
- Click OK at the bottom of the screen.
OCR settings
Using the Optical Character Recognition (OCR) settings, you can choose one or more languages to use for OCR processing.
Note: The “Fast Mode” is deprecated. Selecting this option will not affect the processing speed or accuracy.
OCR settings are managed per project using the Project Settings Manager. When the OCR Extension is activated, the OCR license code is displayed. You can check the number of remaining pages you can process for the month and select one or more recognition languages for OCR processing.
OCR processing must be activated before you can use this processing option. For more information, see Activate OCR.
Change the recognition language
- In the Project Client, select your project tab. On the left task pane in Other Tasks, click Edit Project Settings.
- Select the OCR tab. The OCR page displays.
- Click Change in the OCR Options section. The Recognition Language Options dialog box opens.
- Select the desired language or languages. The current language is displayed in the text box at the top of the dialog box. Additional language selections are added to the text box, separated by commas. To remove a language from the list, clear the box next to the language.
Note: Some languages are not supported in combination. For example, OCR processing may not process some languages when combined with Chinese, Japanese, or Korean. If you have more than one recognition language selection and receive an error when trying to process, you may need to select only the primary language for the particular item
- Click OK to save changes.
Generate transcripts using OCR
If you have the OCR Extension, you can use the Add Compound Objects wizard or the Add OCR text option in the Project and Item Editing tabs to generate transcripts using OCR for single files, multiple files, or compound objects.
Generate transcripts using OCR with the Add Compound Objects Wizard
The compound object wizards provide an option for generating transcripts by using OCR if you have the OCR extension. All compound object wizards provide the OCR option within the Page Information screen. You can also choose to create a PDF during the OCR processing, which can be used for printing.
Generate transcripts using OCR with a compound object wizard
- The administrator must edit field properties of the collection to enable full text searching. The administrator can add a new field for the transcript or designate an existing field as the full-text search field.
- On the project tab, click Add Compound Objects in the left task bar. The Add Multiple Compound Objects screen displays.
- Select a wizard to use and click Add. Follow the field properties of the collection to enable full-text in the wizard screens.
- On the Page Information screen, select Generate transcripts using OCR.
- If desired, select Create print PDF.
- When you are finished with the wizard, you can review the compound object by going to the project tab and finding the object in the project spreadsheet.
Note: Choosing to Create Print PDF while performing OCR on a document will double the total number of pages used for OCR.
Generate transcripts using OCR with items in the project
The Project spreadsheet and the Item Editing tab offer another option for generating transcripts via OCR, if you have the OCR extension. You can OCR items you select in the Project spreadsheet or open items and compound objects in the Item Editing tab to add OCR text.
Generate transcripts using OCR in the Project tab
- Full text searching must be enabled in the collection. In the Project spreadsheet, check the boxes next to the items to OCR.
- From the Edit menu or the More Actions menu, click Add OCR Text.
- A progress bar displays while the OCR is performed. When complete, a summary screen displays the summary and any errors or warnings.
- Click Close. The OCR text is displayed in the full text field of the items.
Generate transcripts using OCR in the Item Editing tab
- Full-text searching must be enabled in the collection. From the Project spreadsheet, open the item or compound object in a new tab.
- From the Edit menu or the More Actions menu, click Add OCR Text.
- For compound objects, you can choose to OCR the entire compound and create a print PDF or OCR only selected pages. To OCR selected pages within the compound object, click on the names of pages while pressing the Ctrl key. Click Perform OCR.
- A progress bar displays while the OCR is performed. When complete, the OCR text is displayed in the full text field of the item or compound object pages.
OCR processing page limits
The CONTENTdm OCR Extension enables you to process a certain number of pages per month, depending on your license level. (You can check your page counts by reviewing the page limit on the OCR tab in the Project Settings Manager).
The pages are measured according to the international paper standard of A4: approximately 8.27 inches x 11.69 inches, which is 96.68 square inches. The US standard letter size of 8.5 inches x 11 inches, which is 93.5 square inches, is three inches smaller than A4 and counts as one processed page. If the pages exceed size A4, you will receive a warning that processing the page will exceed the single page scan size and will be counted as more than one page. You can cancel the process if you do not want to proceed. If you do not want to be warned about oversized images in the future, you can choose to suppress the warning message.
If the page that you are scanning is larger than A4, the number of pages counted will be equal to the area of the page divided by the A4 area (96.68 inches). The result is rounded to the next whole number. For example, if you are processing a tabloid page that is 11 inches x 17 inches, the area of that page is 187 square inches. 187 is divided by 96.68, resulting in 1.93. This means that an 11 x 17 page will count as two processed pages.
If you know the dimensions of your image in pixels, use the following formula to determine the size in inches:
(Pixel width) / (X resolution) * (Pixel height) / (Y Resolution)
For example, if you have an image scanned at 72 pixels per inch and the image is 1200 pixels wide by 1600 pixels high, using the above formula (1200/72 x 1600/72), the dimensions are 16.66 inches wide x 22.22 inches high (370.19 square inches). Divide that by the A4 value, which results in 3.82 pages (or 4 pages, rounded to the next whole number).
General guidelines for A4 dimensions in pixels are:
72 dpi = 595 X 842 pixels
300 dpi = 2480 X 3508 pixels
600 dpi = 4960 X 7016 pixels
The following table is a quick reference for the above formulas and dimensions.
| A4 paper size in inches: | 8.27 x 11.69 (96.68 square inches) |
|---|---|
| To determine size in inches when given pixels: | (Pixel width)/(X resolution) * (Pixel height)/(Y Resolution) |
| To determine number of pages counted toward processing: | Area of the page/Area of A4 (96.8) |