Buttons
Overview
Buttons can be added to the default Welcome screen and any custom screen. Buttons allow you to link to standard and custom screens within the app, or to external web addresses.
| Button editor in CapiraMobile Staff Dashboard | Corresponding button in app |
|---|---|
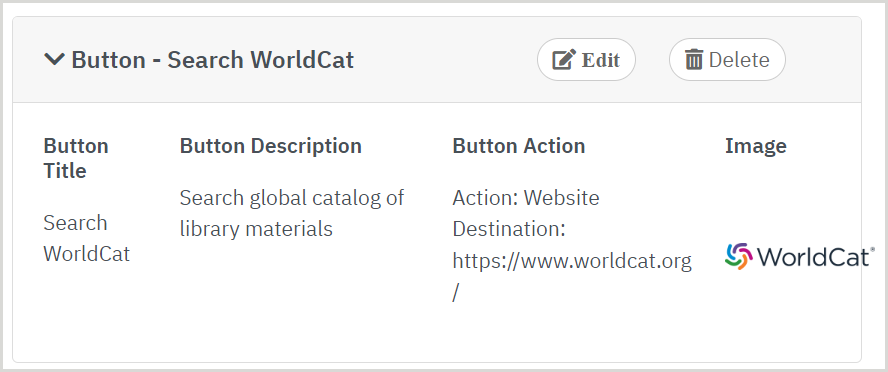 |
 |
Add a button
- From the left navigation, under the Elements menu, select Screens > Manage Screens.
- Click Edit Buttons in the Action column for the screen you want to add a button to.
- Click Add New in the top right.
- On the Create New Button screen, fill in the applicable fields. See Button fields for more information.
- Click Add Button.
Edit a button
- From the left navigation, under the Elements menu, select Screens > Manage Screens.
- Click Edit Buttons in the Action column for the screen with the button you want to edit.
- Click Edit to the right of the button's title.
- Update the information in any of the applicable fields. See Button fields for more information.
- Click Save Edits.
Reorder buttons
To change the order in which buttons appear on a custom screen, click the button header and drag and drop it in the desired position. Click Save Changes when finished.
Button fields
Fill in the values described below when creating or editing a button.
| Value title | Description | ||||||||||
|---|---|---|---|---|---|---|---|---|---|---|---|
| Button Title |
A brief title for the button. This will appear below the button image in the app. (Optional) Click Expand Translations to add one or more language translations. See Text field translations. |
||||||||||
| Description |
An optional short description of what the button does. This will appear below the button title. (Optional) Click Expand Translations to add one or more language translations. See Text field translations. |
||||||||||
| Action | From the drop-down list, select the standard or custom screen that the button will take the user to. See Standard screens for more information. | ||||||||||
| Action Value |
For some actions, an associated action value can be entered to be acted on for a button press. If no action value is entered, the results of the button press will vary depending on the action.
|
||||||||||
| Image | Select the image you would like to use for your button by clicking on Media Library.
Note: An image must already be in your media library for you to use it. See Media for more information. |
Delete a button
- From the left navigation, under the Elements menu, select Screens > Manage Screens.
- Click Edit Buttons in the Action column for the screen the button is on.
- Click Delete to the right of a button's title.
- In the Delete dialog, confirm that you want to delete the button.