Branch maps
Discover how to configure the branch map in the CapiraMobile Staff Dashboard.
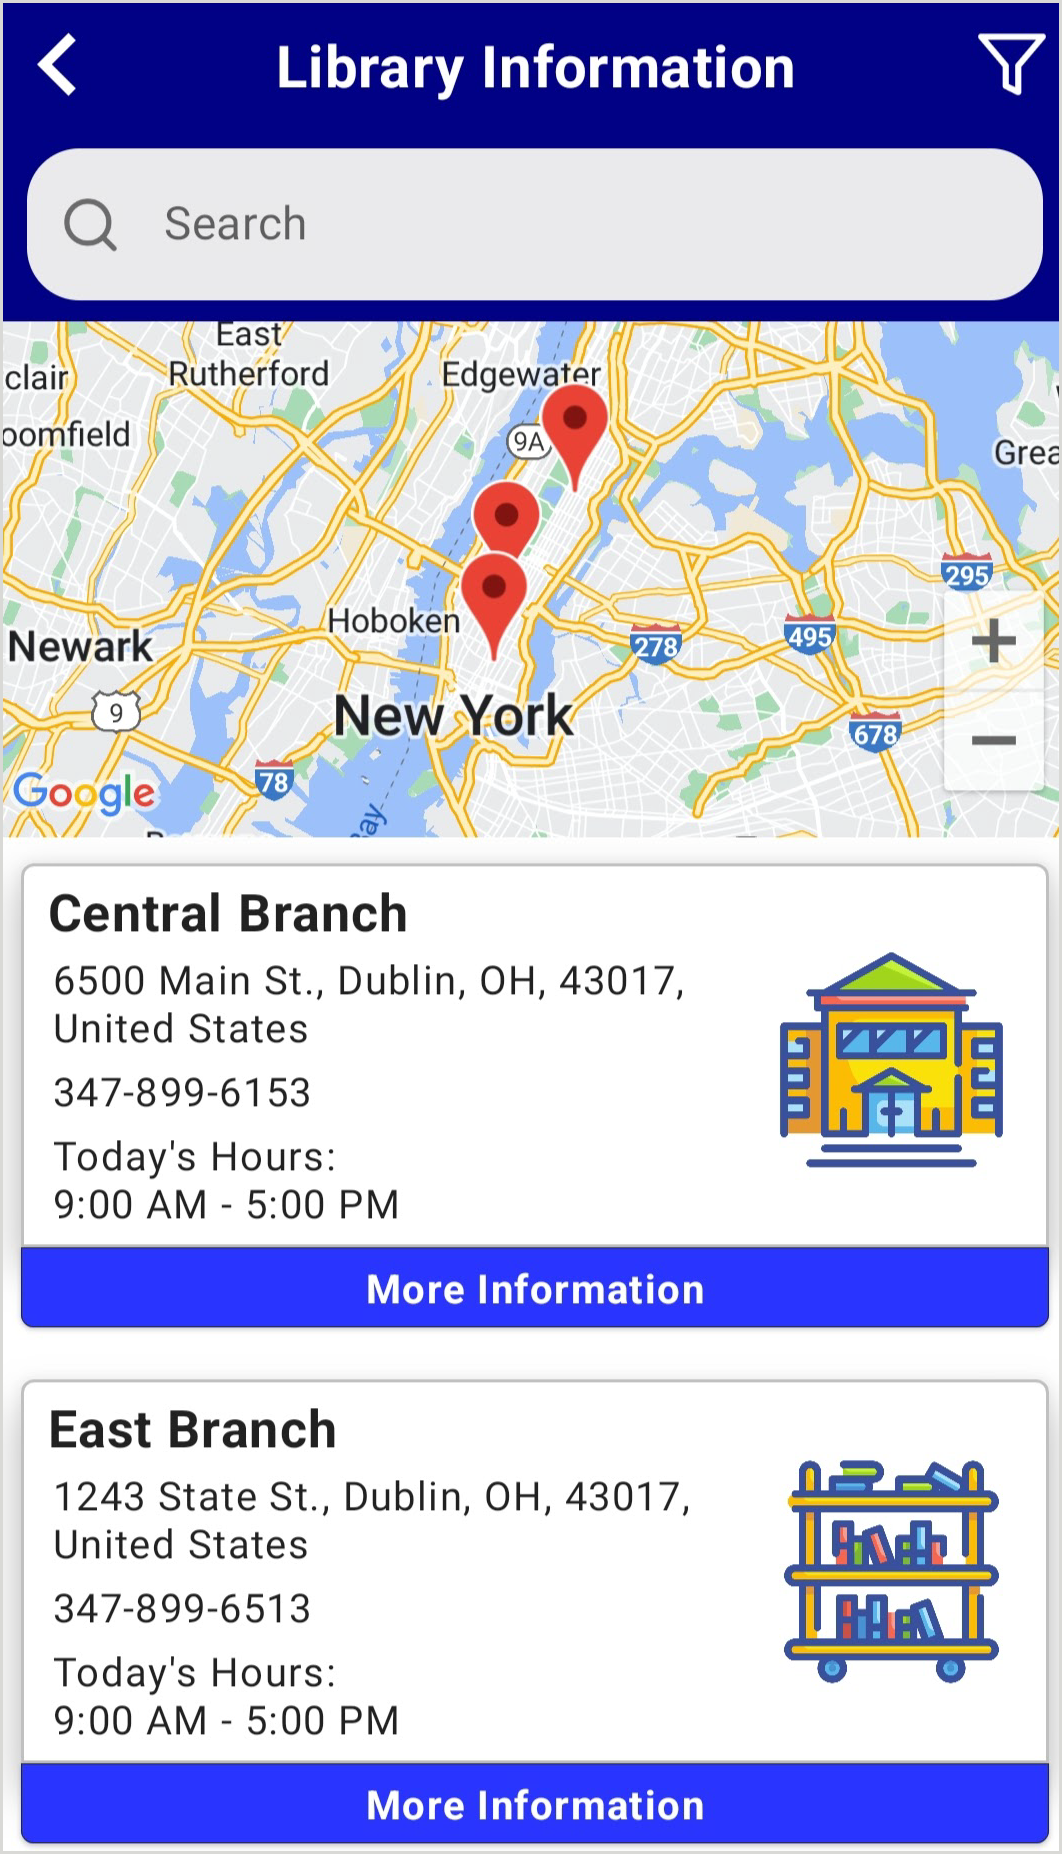
An interactive map displays at the top of the Library Information screen, representing each library branch as a pin on the map. You may increase or decrease the zoom of the map by using the touch screen. An individual map with a single pin displays on the Library Details screen for each branch.
 Disabling the Display Map option will remove the map of all library branches from the Library Information screen, but an individual branch map will still display on the Library Details screen for each branch.
- The map will attempt to display the location of all library branches at once. In cases where the map covers a large area, such as when there is a considerable distance between branches, some pins may be grouped together. To see individual pins, zoom in on the map by using the touch screen.
To update the branch map settings:
- From the left navigation, under the Elements menu, select Options > Branches/Map.
- Use the toggle to enable or disable any of the desired options:
- Display Map - Enabling will display a visual map of locations with pins for each branch on the Library Information screen.
- Allow Sort By Closest - This feature requires patrons to allow location services. For privacy reasons, you can choose to disable this feature. To utilize this feature, Display Map must be enabled.
- Display Search Bar - Enabling will allow patrons to search the list of branches by name, address and other fields.
- Click Save.