Configure Email Request
For Relais Hosted Service customers who want to use Email Request on a schedule from the Hosted Service contact OCLC Support with the following information.
- Name of the instance (if applicable)
- Email address or addresses to which to send the batch of pickslips
- Subject line for the email - for example, Pickslips for Law Library produced on September 16, 2013 at 4:01 PM
- The following 3 tokens are supported.
- &Identifier - the instance of the EmailRequest application
- &DatePosted - formatted as: August 20, 2013
- &TimePosted12; - formatted as: 12:39 PM
- The following 3 tokens are supported.
- Send summary report - Yes or No
- Frequency with which to run Email Request
- Sort order - for example, supplier code, call number, title. The default sort order is by request number.
For Relais Hosted Service customers who want to run Email Request locally
- Install Email Request
- Contact OCLC Support with the information listed above. This information is used to update your Relais database and create a new section or sections for your relais.ini
For customers not using the Relais Hosted Service, the following three steps are required.
- Install Email Request
- Add instances of Email Request to the Relais database.
Notify OCLC Support with the names of the instances of Email Request to be configured so that the appropriate database scripts can be prepared. - Update the relais.ini.
Create an Email Request section in your relais.ini, with the following settings. If running multiple instances of Email Request then multiple corresponding sections are needed in the relais.ini.
Setting Description Examples SummaryReport Path name for the summary report and the name of the report to use for the summary page Z:\<relais Root>\Reports\RequestSummary.rpt UseSummaryReport Specify whether or not to use the summary report: Y(es) or N(o)
Note the summary report is sent in a separate email.Y EmailAddress Enter one or more email addresses to which the requests are sent.
Enter one or more email addresses to which the requests are sent.your_ill_staff @emailprovider.com EmailSubject Enter the text to display in the subject line. There are three tokens that can be used in the subject:
&Identifier - to denote the instance of Email Request
&DatePosted - the date Email Request was run
&TimePosted12 - the time Email Request was run
If the summary report is used, the same subject is used for both the email with the PDF attachment and the email with the summary report.Bookbands for Science Library produced on September 23, 2013 at 11:36 AM PickslipReport Path name for the report and the name of the report to use for the bookbands Z:\<relais Root>\Reports\Request.rpt OrderByClause The order in which to sort the pickslips when generating the PDF. SUPPLIER_CODE,CALL_NUMBER,TITLE DebugMode=Y Specify whether or not to turn on debug mode and produce more detailed logs: Y(es) or N(o) N UpdateStatus1 The status to which the request is updated after being processed by Email Request Req Emailed AppDisplayArea How and where to display Email Request on the monitor when it is running 0 AppLoginUserID System setting - do not change SYSTEM AppLoginPassword System setting - do not change SYSTEM
For each instance of Email Request replicate these settings and modify them as appropriate. Ensure the instance name is included in the section heading.
For example:
[Email Request - Science Library]
[Email Request - Law Library]
Install Email Request
Step 1. Getting started
Before Installing Email Request ensure the following two Microsoft components are installed on the workstation on which the application will run.
Visual C++ 2010 SP1 Redistributable Package (x86)
Note: Install the X86 version of the Visual C++ 2010 SP1 regardless of the OS version running on the workstation.
Step 2. Download and install Email Request
Download and the Relais Email Request setup package from the North American server.
Unpack RelaisEmailRequest_setup.zip to a temporary folder.
| Step | Action | This column header is empty. |
|---|---|---|
| 1 | Right click on the RelaisEmailRequest_setup.exe and choose “Run as administrator" | 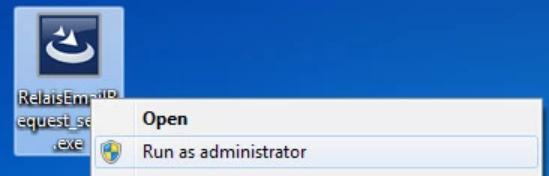 |
| 2 | Note: If prompted please install “Microsoft Visual C++ 2010 SP1 Redistributable Package (x64) | 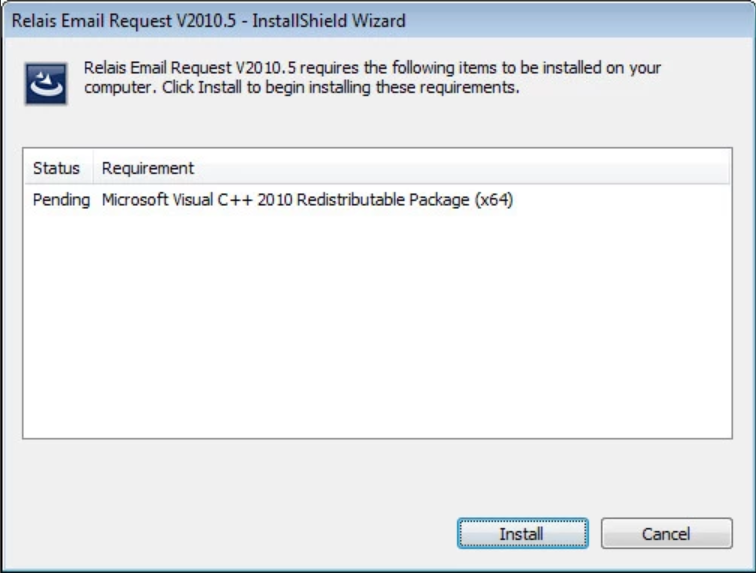 |
| 3 | Once the Relais Welcome Screen appears click “Next” |  |
| Read and Accept the Relais EULA and then click “Next” | 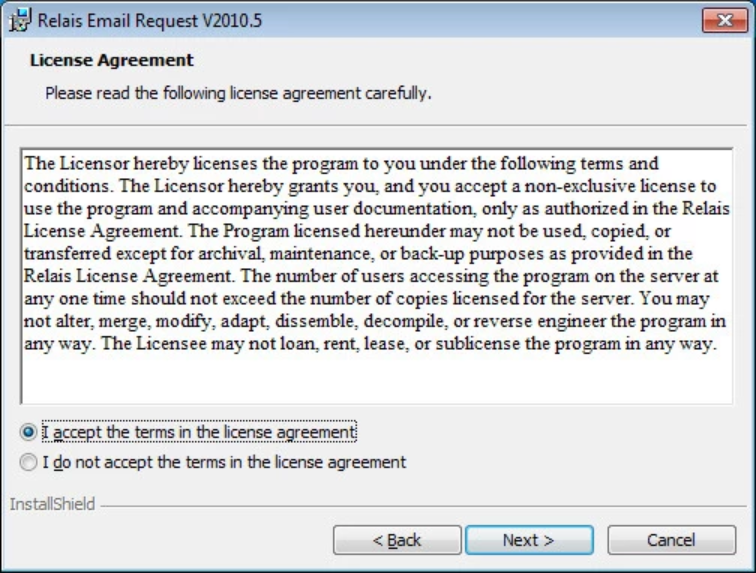 |
|
| 4 | On the customer information screen select “All users” and click “Next” | 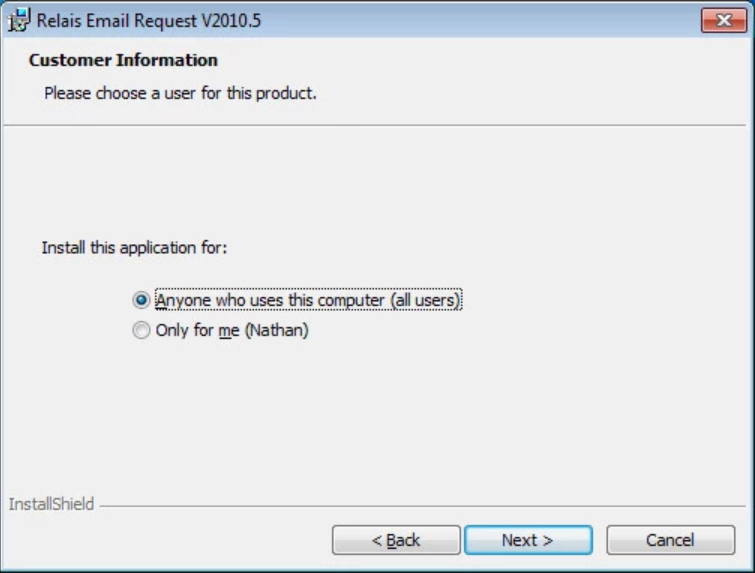 |
| Use the “Change” Button to select your <Relais Root> Directory | 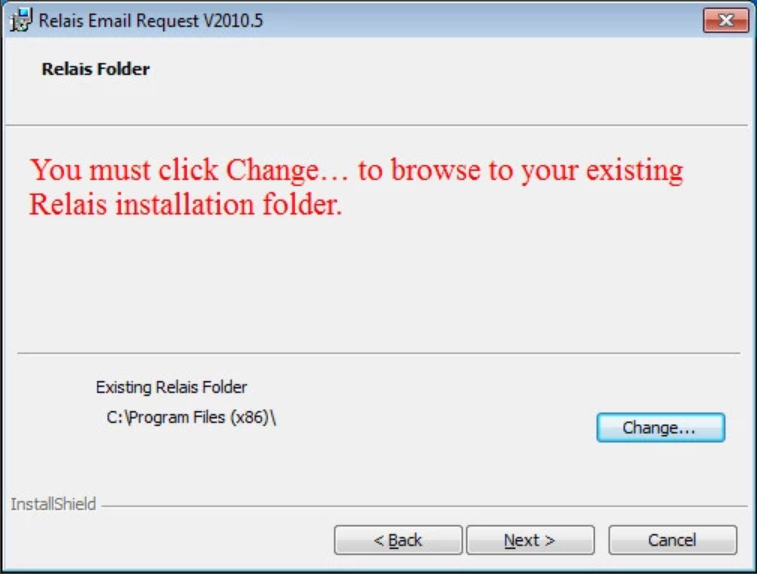 |
|
| 5 | Once you have selected your <Relais Root> directory, click "Next" | 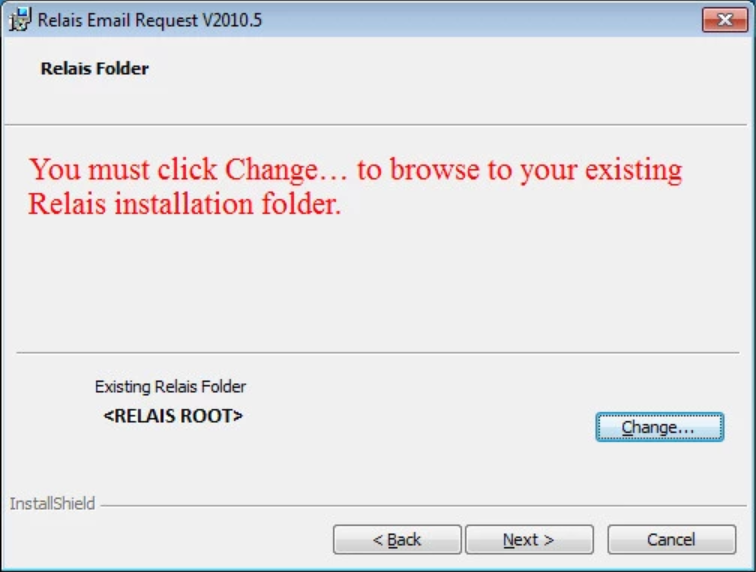 |
| 6 | Click “Install” | 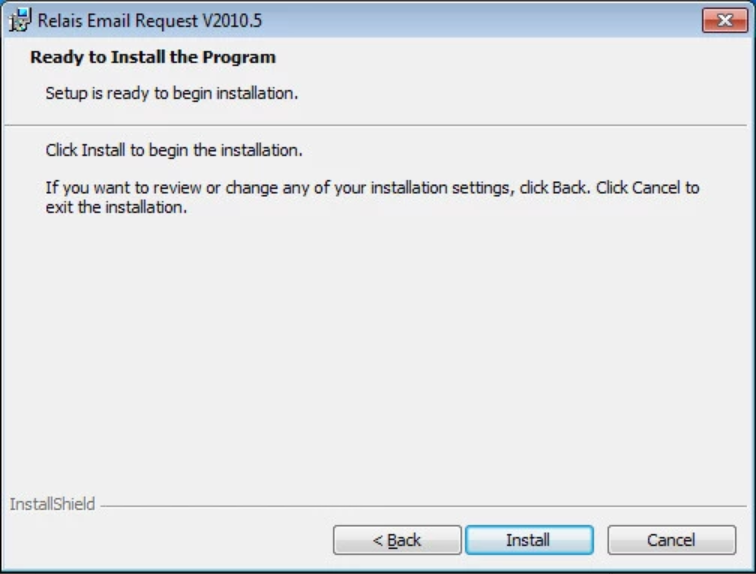 |
| 7 | Click “Finish” | 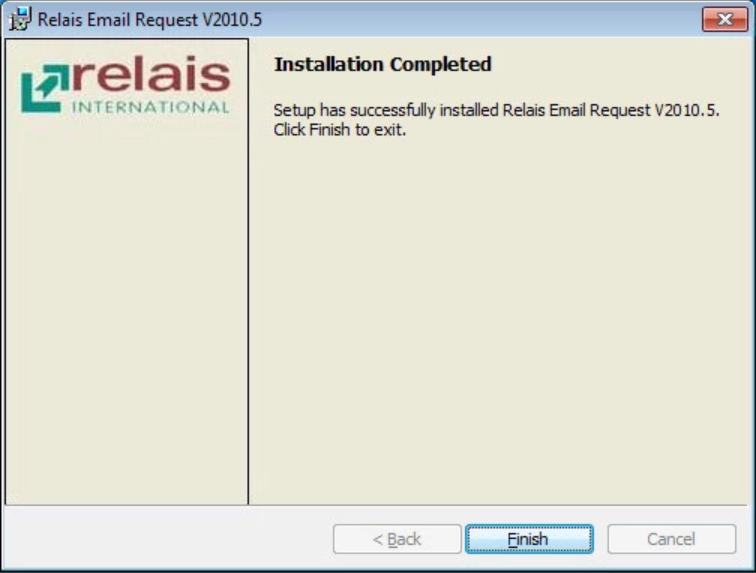 |