Schedule reports
You can schedule standard and custom reports, both individual institution and group, to run at a predetermined time and on a consistent basis with a Report Author or Report Scheduler role.
- Users with the Report Scheduler role will be able to access Web Intelligence from the Applications menu but will not be able to create a new report. The New button will be inactive.
- Reports should not be scheduled from folder 3.0 as you will not be notified if the original author edits or deletes the report. To schedule a report from the community folder, save the template locally and then schedule it form My Favorites or folder 2.0.
Schedule a custom or standard report
- In the left navigation, click Report Launch Pad.
- Standard reports: Open a report category folder and select the report you wish to schedule. | Custom reports: In the left navigation, click My Documents and select the report you wish to schedule.
- From the More Actions drop-down list, select Schedule.
Or
Right-click the report title and select Schedule.
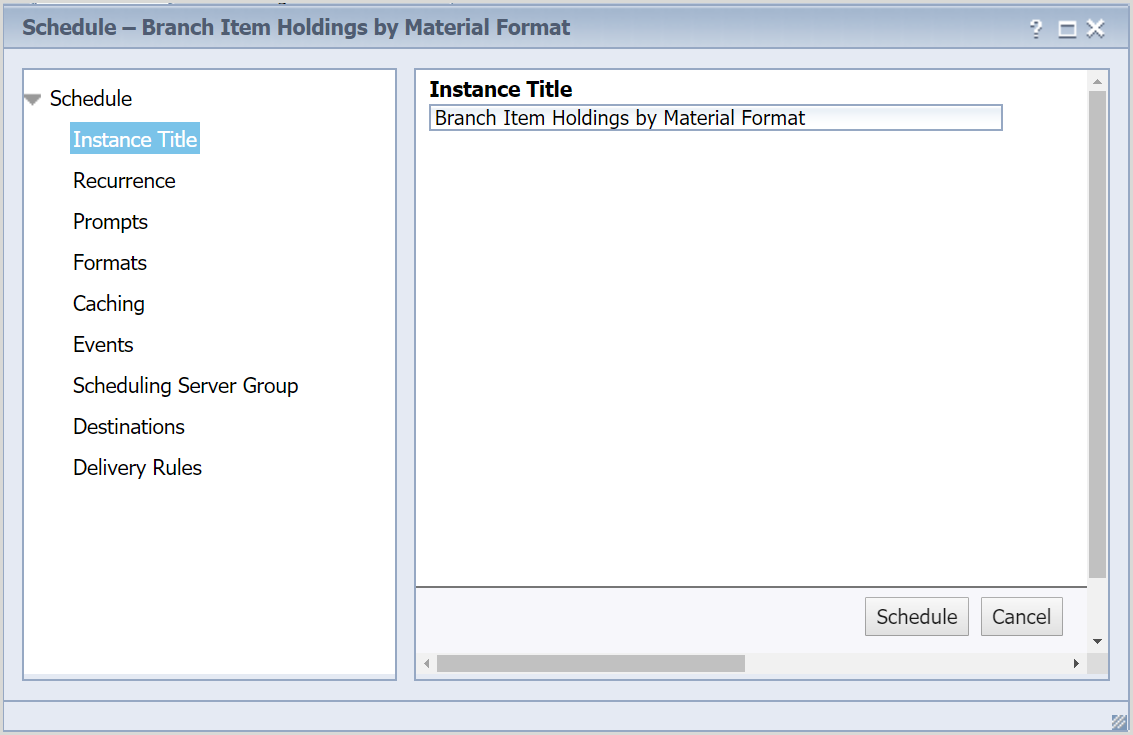
- For the Instance Title field, enter a title for the instance you create. An instance is a specific occurrence of the report being run. Your instance title should follow these guidelines:
- Limit to 70 or fewer characters
- Use only the basic Latin alphabet (A-Z, a-z) and/or numerals (0-9)
- Do not use special characters other than a hyphen (-) or underscore (_)
- Click Recurrence. Select when and how often you would like your scheduled report to run from the Run object drop-down list.
- Click Prompts and then click Modify. Enter values for the required prompts and then click Apply to add them to your scheduled report.
This section is not required for all reports. - Click Formats and select an Output Format. Note: Do not use Caching, Events, and Scheduling Server Groups. No values are required on these menus.
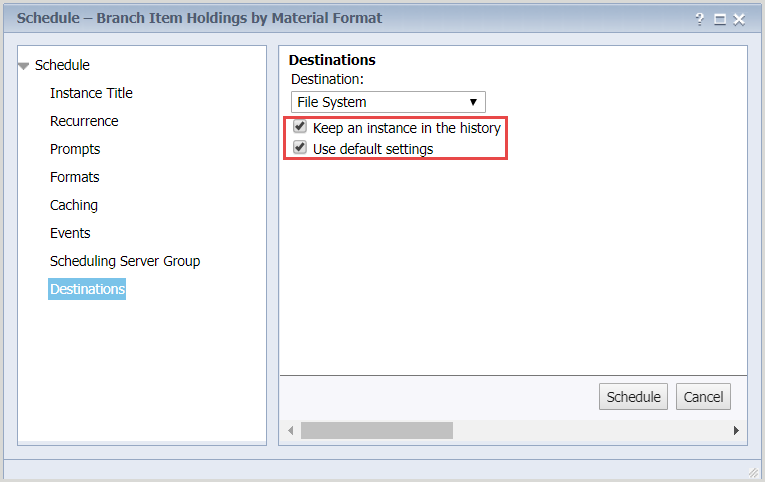
- Click Destinations. From the Destinations drop-down list, select a destination.
- Default Enterprise Location (default) - Delivers scheduled reports to the Default Enterprise Location which is available only via the History menu in the Report Launch Pad. This destination is ideal for users who wish to schedule a report that should not be visible in My Files (i.e., reports with patron PII or other sensitive data).
Note: Reports delivered to the Default Enterprise Location can only be retrieved by the user who scheduled the report. - File System - Delivers scheduled reports to My Files and your institution's OCLC FTP account. To ensure that a file is delivered successfully via File System, leave the following checkboxes selected.
- Keep an instance in the history
- Use default settings
Caution: The files that appear in My Files do not have any additional security/privacy, so any user with access to My Files in your institution will be able to open and view them. Please use caution if you create reports that contain sensitive data. - Default Enterprise Location (default) - Delivers scheduled reports to the Default Enterprise Location which is available only via the History menu in the Report Launch Pad. This destination is ideal for users who wish to schedule a report that should not be visible in My Files (i.e., reports with patron PII or other sensitive data).
- (Optional) Click Delivery Rules to elect to have the scheduled report delivered only if it meets certain conditions.
- Select the condition(s) you want to apply.
- The scheduled content has been successfully refreshed and is not partial. - The scheduled report is only delivered if the content of the report has been successfully refreshed and is not partial.
- The scheduled content contains data. - The scheduled report is only delivered if it contains data.
Note: Some provided standard reports may not be able to utilize this option, as they have complex queries that may not correctly trigger the “no data” inaction.
- Select a status for the condition(s) you selected.
- Warning - The report will be delivered if the condition is not met.
- Failed - The report will not be delivered if the condition is not met.
- Select the condition(s) you want to apply.
- Click Schedule. The report now runs based on your scheduling parameters.
Reschedule a custom or standard report
- In the left navigation, click Report Launch Pad.
- Standard reports: Open a report category folder and select the report you wish to reschedule. | Custom reports: In the left navigation, click My Documents and select the report you wish to reschedule.
- From the More Actions drop-down list, select History. OR Right-click the report title and select History.
- Select the report instance you wish to reschedule.
- From the More Actions drop-down list, select Reschedule. OR Right-click the report title and select Reschedule.
- Update the settings in the Instance Title, Recurrence, Formats, Prompts, and/or Destinations as desired.
- Click Schedule to apply the changes to all future scheduled runs of the report.
Delete a scheduled custom or standard report
- In the left navigation, click Report Launch Pad.
- Standard reports: Open a report category folder and select the report you wish to reschedule. | Custom reports: In the left navigation, click My Documents and select the report you wish to reschedule.
- From the More Actions drop-down list, select History. OR Right-click the report title and select History.
- (Optional) Hover over the Status column, click the Filter by Status button (
 ), and then:
- Select the Recurring radio button.
- Click OK.
- Right-click the report you wish to delete.
- Click Organize > Delete from the right-click menu.
- Click OK in the Delete dialog to confirm you want to delete all future scheduled runs of the report.
Note: This will not delete the custom or standard report from your repository.
Retrieve a scheduled custom or standard report using My Files
Files scheduled for delivery to the File System destination will be available within four hours of the completion of the scheduled report run.
- In the left navigation, click My Files.
- Click Download Files.
- Locate the file you want to download:
- In the File Name column, find the file you want to download, or
- Select WorldShare Reports from the Filter by drop-down list to limit your results to only WorldShare reports
- Select Hide downloaded files to hide files that have been previously downloaded.
Note: Hide downloaded files is enabled by default.
- In the File Name column, locate the file you want to download. Click the File Name column to sort alphabetically.
- In the Action column, click Download. The file will automatically download to your workstation.
Retrieve a scheduled custom or standard report using SFTP
You can download reports scheduled for delivery to the File System destination using an open-source SFTP client. Filezilla is recommended, as it works consistently with multiple operating systems. See Exchange files with OCLC for more information on securely retrieving files from OCLC using SFTP
- Enter the host and port for your institution.
- Enter your institution's username and password (supplied by your regional OCLC Support office).
- Select the /xfer/analytic/reports directory to retrieve your reports.
Retrieve a scheduled custom or standard report using the Report Launch Pad
In the Default Enterprise Location, report instances are limited to five instances per user per schedule and are retained for 90 days (e.g., if you have a report scheduled for daily recurrence, you will only be able to retrieve the last 5 instances from the History dialog).
- In the left navigation, click Report Launch Pad.
- Standard reports: Open a report category folder and select the report you wish to retrieve. | Custom reports: In the left navigation, click My Documents and select the report you wish to retrieve.
- From the More Actions drop-down list, select History. OR Right-click the report title and select History.
- Double-click a report instance to open it.