Access and customize My Account
Access My Account
Users can access the My Account screen from the below link:
- https://yourlibrary.account.worldcat.org/account
- Replace yourlibrary with your library's URL qualifier or Registry ID.
Subscribers to WorldCat Discovery can access My Account from the Discovery interface as well.
Navigate My Account
Access the available sections by using the tab headings on the page. You can also access the areas of My Account using the Profile drop-down menu in the banner.
WorldCat Discovery subscribers:
- To search WorldCat Discovery, enter search terms in the main search bar at the top of the screen or use the Advanced Search link.
- Course Reserves are accessible from My Account as are any custom links configured by the library. Custom links appear under the Resources drop-down menu.
Navigate My Account by keyboard
Navigate My Account more quickly by screen reader or using your keyboard.
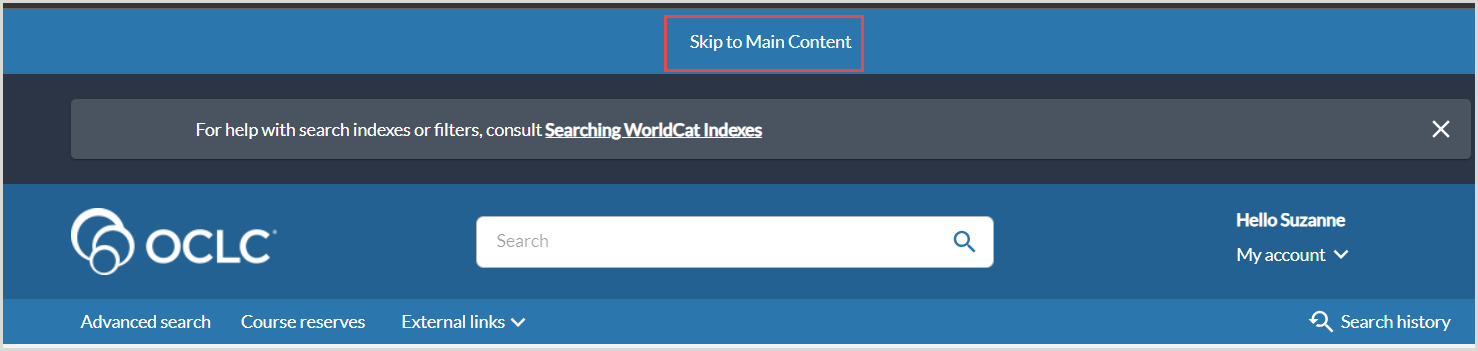
When the browser focus is at the top of the page, press the Tab button once to expose the Skip to Main Content option or press the Tab button twice to expose the Skip to Footer option. Pressing Return moves the browser focus to the corresponding section of the page.
Note: FireFox and Safari users may need to enable additional settings in their browser configuration to use this feature.
- Skip to Main Content image
-
Inactivity timeout
Customize My Account
You can customize the look of the My Account interface by navigating to the WorldCat Discovery and WorldCat Local User Interface Options in the Service Configuration. Use this screen to update your banner and custom links.
Caution: Altering these settings will change the appearance across your WorldCat Discovery interface. See User Interface Options for additional WorldCat Discovery configuration options.
If your institution does not subscribe to WorldCat Discovery, the Navigational bar color has been pre-set to the Header and footer color darkened by 27%.
Branding & Customization
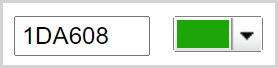
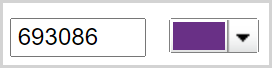
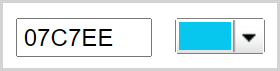
Use the Branding & Customization section to set the colors to appear on My Account.

My Account custom colors are controlled by the below settings:
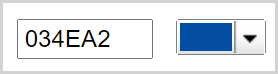
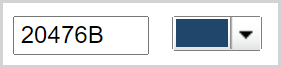
| Number | Setting | Option | Example |
|---|---|---|---|
| 1 | Search and fulfillment buttons |
|
|
| 2 | Header and footer color |
|
|
| 3 | Unvisited links |
|
|
| Visited links |
|
|
|
| 4 | Navigational bar color |
|
|
Recommendations for color selections:
- For header and footer, select a light color that best reflects your institution's main brand color.
- For buttons and icons, select a dark color that coordinates or contrasts with the secondary color.
- Based on the color selections, the text on the navigation bar will be either white or black.
- To test the white or black text:
- In Service Configuration, select the new color and Save. On the My Account page, refresh the browser to apply the new color.
- Pick a slightly darker color to change text from black to white.
- Pick a slightly lighter color to change text from white to black.
- In Service Configuration, select the new color and Save. On the My Account page, refresh the browser to apply the new color.
- To test the white or black text:
- Sort icons will appear as greyed out when there are no items to sort.
- List headers have a white background and black text.
Logo Settings
| Field | Action |
|---|---|
| Logo image URL |
If your WorldCat.org currently does not have a logo image, or if you would like to replace the current logo image, provide a URL to an image of your institution’s logo. The URL must be no longer than 255 characters. The logo image also cannot exceed 80 pixels in height and 275 pixels in width. Match the background color of this image to your logo background color to mimic a screen-width banner. Image formats:
Note: Images larger than this will automatically be resized. For the best user experience, we recommend configuring a secure image (beginning with "https://”). If the logo image uses “http://” but your user is accessing My Account via a secured URL, the logo image will not display in the header. In this case, users will see your text from the Alt-text for the logo field in place of the logo image. After adding your logo, click test URL to confirm your choice. |
| Home page URL | Alternative text is also used by screen readers and will display in place of the logo image if the URL for the logo image cannot be reached. |
| Logo alternative text> |
Type text that will appear when the cursor hovers over the logo. |
Custom Links
Choose up to 7 custom links to appear in the Resources menu. Provide the URLs, link type and accompanying text for up to 7 custom web links (e.g., links leading to your library home page, Ask a Librarian, or My Account).
There is a 25 character limit on the text for each link.
Note: If you wish to allow remote access outside your IP address, one of your custom links must be to your remote access page, and you must choose remote access login as the link type.
| Custom link | How to configure |
|---|---|
| Custom link: Display Chat Widget |
When configured, chat functionality displays in the bottom right corner of the My Account screen. When chat is collapsed it will appear as a circle with two overlapping chat icons. When a user hovers over the icon, they will see the icon slide out to display a floating button with the text Chat with Librarian. This functionality moves with users as they scroll up or down the screen. When the Chat link is selected, the chat widget will open in a new window to connect users to the library’s configured chat service. See User Interface Options, Custom Links for more information. When a user leaves the chat, the floating button will collapse into a discrete circle. Create this link if you want to provide a link to a chat widget. You must use Custom link 1.
Note: The recommended size for the widget is 185 pixels wide x 275 pixels high. URLs referenced within the chat widget code must utilize HTTPS to avoid mixed content warnings raised by most modern web browsers, which could render the chat widget inoperable. |
| Custom link: A to Z list |
Create this link to allow library users to discover electronic journals held within the WorldCat knowledge base.
|
| Custom link: Proxy |
Create this link if you have a proxy service that allows off-site users outside your IP address to access restricted library content and services. Use Custom link 3 to configure the remote access login custom link.
When a resource is selected that requires remote authentication, library users will see a box that says Authentication Required and includes a link to sign in. For more information, see EZproxy documentation. If your library's authentication is managed through a service other than EZproxy, you will want to confirm the URL format with the proxy vendor. |
| Custom link: other URL |
Create this link for other resources you would like to provide to library users, for example, your virtual reference service.
|
Customize WMS Sign In Labels
Add a Custom Notification
Configure a custom message to display to your library users in WorldCat Discovery and in My Account to notify them of important information.
See Display Settings, Custom Notification for more information.

Add an Institution Accessibility Statement to the Footer
Hide WorldCat Discovery features
Hide tabs in My Account
To hide tabs from My Account, open the OCLC Service Configuration and use the Display Settings section of the My Account module. Refer to Display Settings for more information.
Choose a label for the Resources tab
Configure the label for the Resources menu in the navigation bar and footer. Retain the default label of Resources or enter a custom label appropriate for your users.

To configure a custom label:
- Enable the Use custom text setting. If not, the default text of Resources will display.
- Enter the Display Text.
- 35 character limit.
- Optional. Add Translation for the Display Text.
- Click Save.