Learn how to use the Export feature within Tipasa to export queues and search results.
With Tipasa, you have access to the Export feature. All queues (except the Print queues and Linked Requests queues) and search results have the Export All button, which allows you to export all items in the queue or search results tab. When you export a queue or search results, you will be given a comma-separated value (CSV) file. You can use this file for printing by merging request data with custom Microsoft Word, or other, print templates.
You do not have to set up the Export feature. The Export button appears on all queues and search results, except for the Linked Request (Book Club) queues and Print queues.
Note: When you are exporting items from search results, the Export All button only applies to the active tab. For example, if you searched for requests and received search results for Borrower, Lender, and Document Delivery requests, if you are viewing the Lender requests and you click Export All, only the Lender requests will be exported.
Export use cases
The following table describes two common use cases in which you may want to use the Export feature:
| Create book straps for items received from lending libraries |
If you have a print template you want to use with the Microsoft Word mail merge feature, you can export requests from the Received queue. The data that you export can be used as a data source for the mail merge book straps document. Note: There may be previously received requests in the Received queue. Edit the exported file to display only rows where RECEIVEDATE is the preferred date. |
| Labels for shipping lending requests to borrowers (if your institution is using Advanced Lending) |
If you have a print template you want to use with the Microsoft Word mail merge feature, you can export requests from the Packaging queue. Note: Book straps can be created from the Packaging queue, but if the book strap includes the Due Date, that field is not saved to the request until the Lender responds Yes. In that case, export the Supplied queue. |
Note: You can also print book straps using the Print Queues in Tipasa. See Print bookstraps or stickers for more information.
Export a queue
Follow the instructions below to export a queue.
To export a queue:
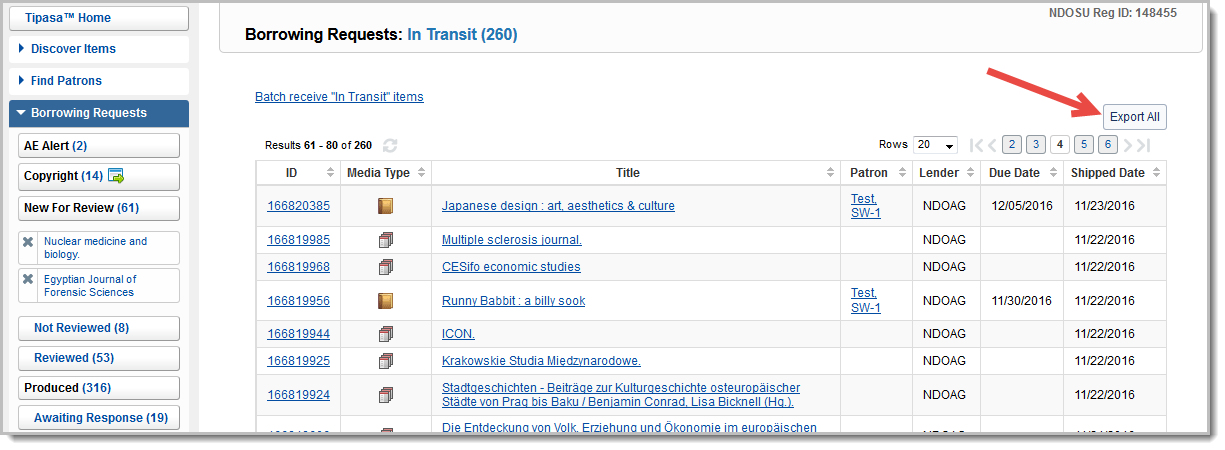
- On the left navigation, click the category (e.g., Borrowing Requests).
- Click the queue you want to export.
- On the queue screen, on the upper right side, click Export All.
- Open the file or save it to your computer.
Export search results
Follow the instructions below to export the active tab of your search results.
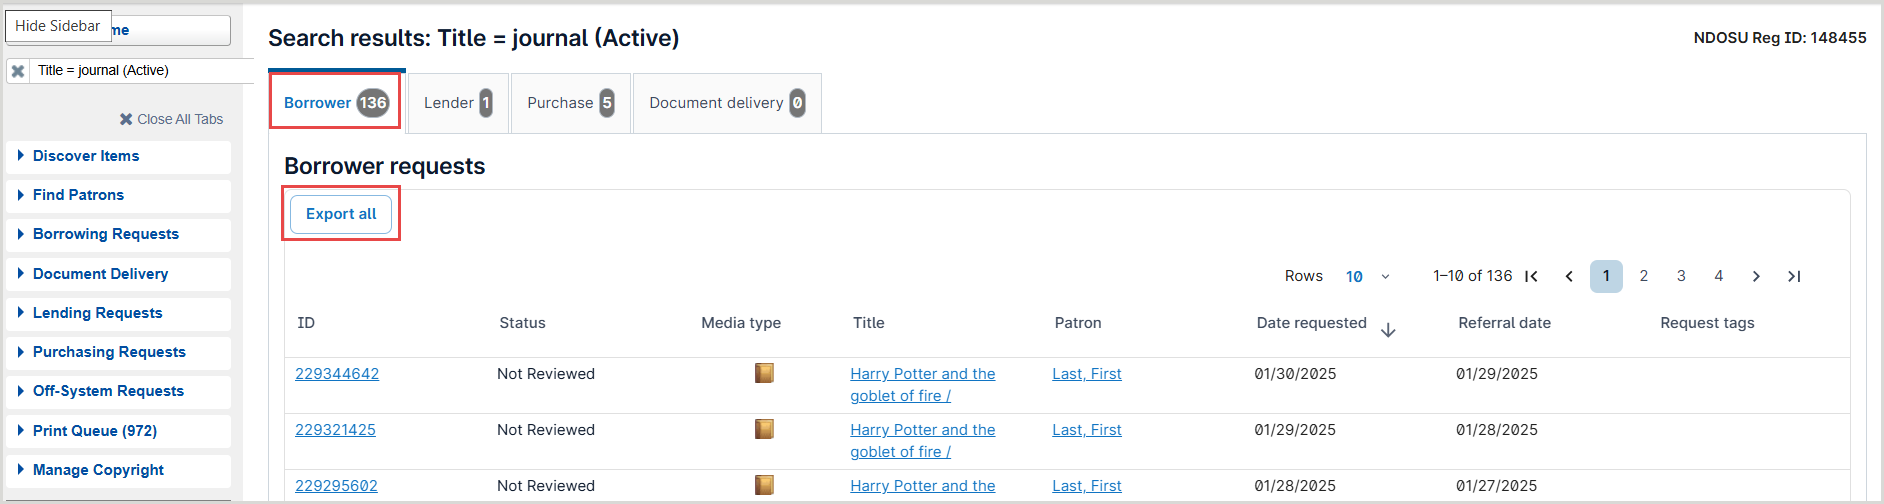
To export search results:
- Search for requests.
- On the search results screen, click Export All.
Note: The search results tab you are viewing is the only that will be exported.
- Open the file or save it to your computer.
Export fields
There are two different types export files: Borrowing and Lending. Borrowing and Lending exports contain different fields. See the tables below for more information. Each of the fields corresponds to the different column headings in the CSV file.
Fields appear in the file in the order they appear on the request form in Tipasa. For example, if you are exporting Borrowing data, the Request Details will appear first, then Borrowing Library, then Patron. Dates appear in your library's date format and the preferred format for your locale. Note: PATRONNAME is only one field, but contains the first and last name of the patron. SUPPLIERNAME is the symbol of the lending library on ILL requests, but for Purchase requests, this field is the vendor.
Borrowing export fields
For queues under the categories: Borrowing Requests, Document Delivery, and Purchasing Requests.
- Borrowing export fields
-
| FULFILLMENTTYPE |
Fulfillment Type (e.g., ILL Document Delivery, Purchase Request, Open Access) |
| REQUESTID |
Request ID |
| DUEDATE |
Due Date, as provided by the lender. This is the first Due Date. |
| REQUESTSTATUS |
Status (Request Details) |
| SOURCE |
Source |
| REQUESTERSYMBOL |
Borrower |
| TAGS |
Request Tags |
| LENDERSTRING |
Lender String |
| SUPPLIERSYMBOL |
Lenders
Supplier (Request History)
|
| SUPPLIERNAME |
Once a lender from the lender string has replied Yes, they become the supplier. |
| SERVICETYPE |
Type (Loan or Copy) |
| REQUESTDATE |
Requested on |
| PRODUCEDDATE |
The date the request was sent to lenders by the borrowing library. |
| RECEIVEDATE |
Received Date |
| WMSITEMBARCODE |
Item Barcode (circulation temporary item associated with the request) |
| NEEDBYDATE |
Need Before |
| PURCHASENOTE |
Purchase Notes |
| PURCHASEPRICE |
Price |
| PURCHASEORDERNUMBER |
Order Number |
| BIBAUTHOR |
Author |
| BIBTITLE |
Title / Journal |
| BIBPUBLISHER |
Publisher |
| BIBUNIFORMTITLE |
Uniform Title |
| BIBEDITION |
Edition |
| BIBOCLCNUMBER |
OCLC |
| BIBISSN |
ISSN |
| BIBISBN |
ISBN |
| BIBDOI |
DOI |
| BIBPUBMEDID |
PMID |
| BIBSERIESNOTE |
Series |
| BIBARTICLEAUTHOR |
Article Author |
| BIBARTICLETITLE |
Article Title |
| BIBFORMAT |
Format |
| BIBVOLUME |
Volume |
| BIBISSUENUMBER |
Issue/No |
| BIBISSUEDATE |
Issue Date |
| BIBPAGES |
Pages |
| BIBDISSERTATIONNOTE |
Dissertation |
| LINKTYPE |
URL Type |
| LINKURL |
URL |
| LINKPASSWORD |
Password |
| VERIFIED |
Verification |
| MAXCOST |
Maximum Cost |
| LENDINGCHARGES |
Lending Charges |
| LENDINGRESTRICTIONS |
Lending Restrictions |
| BORROWINGNOTES |
Borrowing Notes |
| LENDERNOTES |
Lending Notes |
| AFFILIATIONNOTE |
Group Affiliation |
| COPYRIGHT |
CCL/CCG/None (does not include the full details of your selection if you are using the Copyright feature) |
| SHIPPEDDATE |
Shipped Date |
| FAXNUMBER |
Fax (Borrowing Library) |
| EMAIL |
Email (Borrowing Library) |
| ODYSSEYURL |
Electronic Delivery Preferred and Alternate fields |
| ARIELFTP |
Electronic Delivery Preferred and Alternate fields |
| ARIELEMAIL |
Electronic Delivery Preferred and Alternate fields |
| BILLINGATTENTION |
Bill To |
| BILLINGSTREET1 |
Address (Borrowing Library > Billing) |
| BILLINGSTREET2 |
Address (Borrowing Library > Billing) |
| BILLINGLOCALITY |
City (Borrowing Library > Billing) |
| BILLINGREGION |
State/Province (Borrowing Library > Billing) |
| BILLINGCOUNTRY |
Country (Borrowing Library > Billing) |
| BILLINGPOSTALCODE |
Postal Code (Borrowing Library > Billing) |
| BILLINGNOTES |
Billing Notes |
| SHIPVIA |
Ship Via |
| SHIPTOATTENTION |
Ship To |
| SHIPTOSTREET1 |
Address (Borrowing Library > Shipping) |
| SHIPTOSTREET2 |
Address (Borrowing Library > Shipping) |
| SHIPTOLOCALITY |
City (Borrowing Library > Shipping) |
| SHIPTOREGION |
State/Province (Borrowing Library > Shipping) |
| SHIPTOCOUNTRY |
Country (Borrowing Library > Shipping) |
| SHIPTOPOSTALCODE |
Postal Code (Borrowing Library > Shipping) |
| RETURNVIA |
Return Via |
| RETURNTOATTENTION |
Return To |
| RETURNTOSTREET1 |
Address (Lending Information) |
| RETURNTOSTREET2 |
Address (Lending Information) |
| RETURNTOLOCALITY |
City (Lending Information) |
| RETURNTOREGION |
State/Province (Lending Information) |
| RETURNTOCOUNTRY |
Country (Lending Information) |
| RETURNTOPOSTALCODE |
Postal Code (Lending Information) |
| PATRONID |
ID (Patron) |
| PATRONSTATUS |
Status (Patron) |
| PATRONPHONE |
Phone (Patron) |
| PATRONFAX |
Fax (Patron) |
| PATRONEMAIL |
Email (Patron) |
| PATRONNOTE |
Notes (Patron) |
| PATRONNAME |
Name (Patron) |
| PATRONSTREET1 |
Address (Patron) |
| PATRONSTREET2 |
Address (Patron) |
| PATRONLOCALITY |
City (Patron) |
| PATRONREGION |
State/Province (Patron) |
| PATRONCOUNTRY |
Country (Patron) |
| PATRONPOSTALCODE |
Postal Code (Patron) |
| PATRONDEPARTMENT |
Department |
| PICKUPLOCATION |
Pickup Location |
| PATRONDUEDATE |
Not displayed in Tipasa. The patron due date appears in My Account if configured in the Patron Settings module of the OCLC Service Configuration. The patron due date is the Due Date or New Due Date offset by the number of days configured in Patron Settings. |
Lending export fields
For queues under the categories: Lending Requests and Lending Priorities.
- Lending export fields
-
| FULFILLMENTTYPE |
Fulfillment Type (e.g., ILL Document Delivery, Purchase Request, Open Access) |
| REQUESTID |
Request ID |
| DUEDATE |
Due Date, as provided by the lender. |
| REQUESTSTATUS |
Status (Request Details) |
| SOURCE |
Source |
| REQUESTERSYMBOL |
Borrower |
| TAGS |
Request Tags |
| LENDERSTRING |
Lender String |
| SUPPLIERSYMBOL |
Lenders
Supplier (Request History)
|
| SUPPLIERNAME |
Once a lender from the lender string has replied Yes, they become the supplier. |
| SERVICETYPE |
Type (Loan or Copy) |
| REQUESTDATE |
Requested on |
| PRODUCEDDATE |
Date the request was sent to lenders by the borrowing library. |
| RECEIVEDATE |
Received Date |
| WMSITEMBARCODE |
Item Barcode (circulation temporary item associated with the request) |
| NEEDBYDATE |
Need Before |
| PURCHASENOTE |
Purchase Notes |
| PURCHASEPRICE |
Price |
| PURCHASEORDERNUMBER |
Order Number |
| COPYRIGHTUSE |
CCL/CCG/None. Regardless of whether the borrower uses WorldShare Interlibrary Loan or Tipasa, the lender will only see CCL, CCG, or None. |
| LOCALID |
Local ID |
| BIBAUTHOR |
Author |
| BIBTITLE |
Title / Journal |
| BIBPUBLISHER |
Publisher |
| BIBUNIFORMTITLE |
Uniform Title |
| BIBEDITION |
Edition |
| BIBOCLCNUMBER |
OCLC |
| BIBISSN |
ISSN |
| BIBISBN |
ISBN |
| BIBDOI |
DOI |
| BIBPUBMEDID |
PMID |
| BIBSERIESNOTE |
Series |
| BIBARTICLEAUTHOR |
Article Author |
| BIBARTICLETITLE |
Article Title |
| BIBFORMAT |
Format |
| BIBVOLUME |
Volume |
| BIBISSUENUMBER |
Issue/No |
| BIBISSUEDATE |
Issue Date |
| BIBPAGES |
Pages |
| BIBDISSERTATIONNOTE |
Dissertation |
| LINKTYPE |
URL Type |
| LINKURL |
URL |
| LINKPASSWORD |
Password |
| VERIFIED |
Verification |
| MAXCOST |
Maximum Cost |
| LENDINGCHARGES |
Lending Charges |
| LENDINGRESTRICTIONS |
Lending Restrictions |
| BORROWINGNOTES |
Borrowing Notes |
| LENDERNOTES |
Lending Notes |
| AFFILIATIONNOTE |
Group Affiliation |
| COPYRIGHT |
CCL/CCG/None. Regardless of whether the borrower uses WorldShare Interlibrary Loan or Tipasa, the lender will only see CCL, CCG, or None. |
| SHIPPEDDATE |
Shipped Date |
| FAXNUMBER |
Fax (Borrowing Information) |
| EMAIL |
Email (Borrowing Information) |
| ODYSSEYURL |
Electronic Delivery Preferred and Alternate fields |
| ARIELFTP |
Electronic Delivery Preferred and Alternate fields |
| ARIELEMAIL |
Electronic Delivery Preferred and Alternate fields |
| BILLINGATTENTION |
Bill To |
| BILLINGSTREET1 |
Address (Borrowing Information > Bill to) |
| BILLINGSTREET2 |
Address (Borrowing Library > Bill to) |
| BILLINGLOCALITY |
City (Borrowing Library > Bill to) |
| BILLINGREGION |
State/Province (Borrowing Library > Bill to) |
| BILLINGCOUNTRY |
Address (Borrowing Library > Bill to) |
| BILLINGPOSTALCODE |
Postal Code (Borrowing Information > Bill to) |
| BILLINGNOTES |
Note (Borrowing Information > Bill to) |
| SHIPVIA |
Ship Via |
| SHIPTOATTENTION |
Attention (Borrowing Information > Ship to) |
| SHIPTOSTREET1 |
Address (Borrowing Information> Ship to) |
| SHIPTOSTREET2 |
Address (Borrowing Library > Ship to) |
| SHIPTOLOCALITY |
City (Borrowing Library > Ship to) |
| SHIPTOREGION |
State/Province (Borrowing Library > Ship to) |
| SHIPTOCOUNTRY |
Country (Borrowing Information > Ship to) |
| SHIPTOPOSTALCODE |
Postal Code (Borrowing Library > Ship to) |
| RETURNVIA |
Return Via |
| RETURNTOATTENTION |
Return To |
| RETURNTOSTREET1 |
Address (Lending Information) |
| RETURNTOSTREET2 |
Address (Lending Information) |
| RETURNTOLOCALITY |
City (Lending Information) |
| RETURNTOREGION |
State/Province (Lending Information) |
| RETURNTOCOUNTRY |
Country (Lending Information) |
| RETURNTOPOSTALCODE |
Postal Code (Lending Information) |