Cover pages
Learn how to configure and use cover pages for document delivery in Relais ILL.
Overview
At the time a document is delivered by any of the Relais delivery applications a cover page is created as part of the process. The way the cover page is added to the document or delivered is dependent on the delivery method.
- Delivery FTP (for delivery to Odyssey and Ariel) - the cover page is merged with the document
- Delivery Email (for post to web and attachments) - the cover page can be merged with the document or sent as a separate attachment
- Delivery Local (for printing) - the cover page is merged with the document
The cover page includes:
- The requester's address
- Bibliographic information and other information and instructions required to fill the request
- Notes
- If turned on - an invoice message
- Header
- Footer
- Two messages
Most of the information on the cover page is generated from the request. The header, footer, and two messages on the cover page can be configured for each request type.
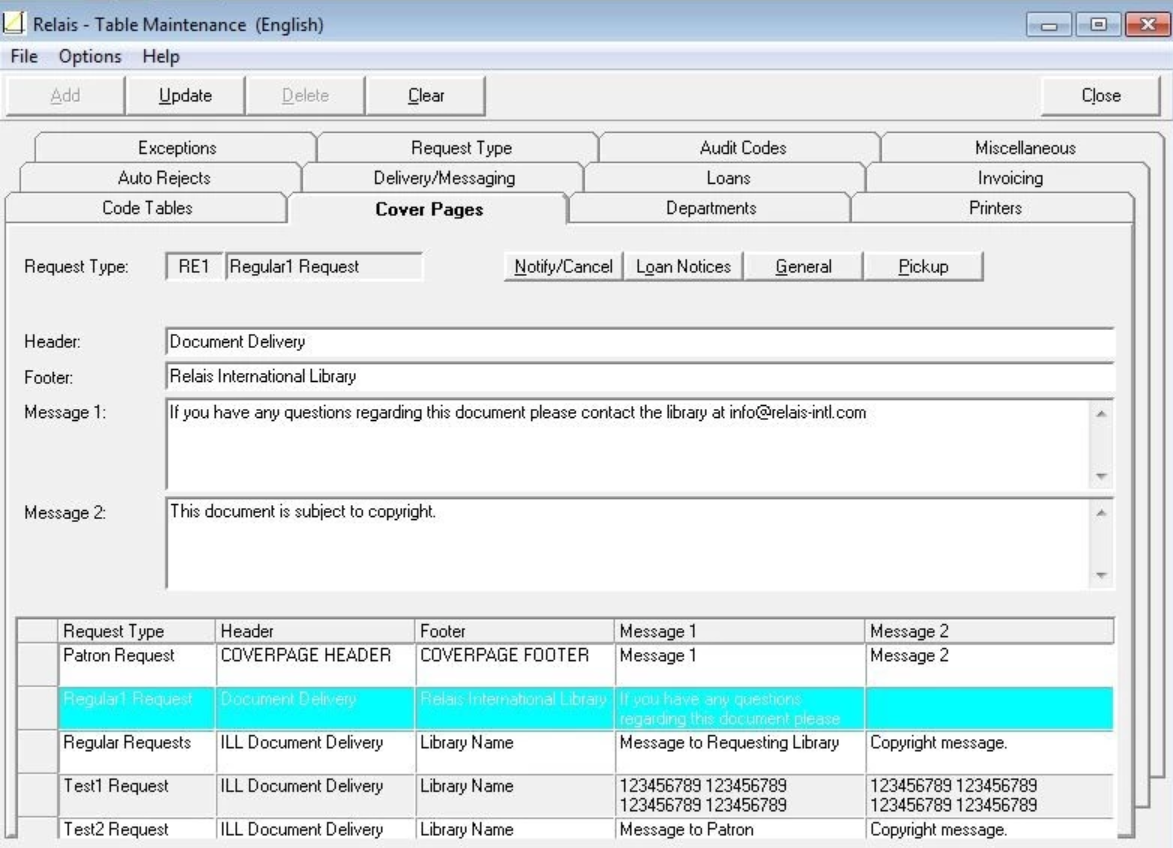
Configure cover pages
Change the Header on the cover page
- Login to Table Maintenance.
- Click the Cover Pages tab.
- In the grid, highlight the request type for which the header is to updated.
- Modify the Header as appropriate (maximum 60 characters) - for example, enter the name of your department or library.
- Click Update.
Change the Footer on the cover page
- Login to Table Maintenance.
- Click the Cover Pages tab.
- In the grid, highlight the request type for which the footer is to updated.
- Modify the Footer as appropriate (maximum 60 characters) - for example, enter the name of your department or library.
- Click Update.
Change Message 1 / Message 2 on the cover page
- Login to Table Maintenance.
- Click the Cover Pages tab.
- In the grid, highlight the request type for which message 1 / message 2 is to update.
- Modify Message 1 / Message 2 as appropriate (maximum 1000 characters for each) - for example, enter contact information and a copyright statement.
- Click Update.
Note: The header, footer, and messages can be changed with one update.