What are the steps for completing the Access and Authorization form?
Applies to
- Connexion client
- Z39.50 (cataloging)
- OCLC Usage Statistics
- WebDewey
Steps:
This form is intended for cataloging authorization credential requests (to create, edit, or delete).
For other types of authorization numbers (e.g., ILL or FirstSearch), please email OCLC Order services with any relevant details/context of your needs.
Access the form at this URL: https://www.oclc.org/app/sysacc/header.pl
These fields are required on the first page:
- Contact Name (this is who is filling out the form)
- Email + confirm email
- Phone number
- Institution Name
- Select the checkbox if you are authorized to make cataloging changes at your institution.
- OCLC symbol (preferred, if known)
Click on Next button to proceed.
You will see three options (choose all that apply; you can submit multiple requests back-to-back):
- Add New Authorization(s) - up to 5
- Update Existing Authorization(s) - up to 5
- Delete Existing Authorization(s) - up to 10
To illustrate the rest of the form, I chose Add New Authorization. However, any option can be used here.
Populate:
- Operator Name (who's being assigned the authorization credentials),
- Logon Greeting (displayed during Connexion client login that acknowledges the user)
- and confirm you read the Password creation permission by selecting the checkbox:
"I understand that Order Services will create the password and that the new password will be retrieved through a secure link sent to the authorized contact email. I cannot choose or submit my own password through this form"
Choose:
Cataloging Service Mode (level) and Local Holdings Maintenance (level).
Note: For more information on cataloging authorization levels, see OCLC Cataloging Authorization Levels for Record Actions and Upgrades.
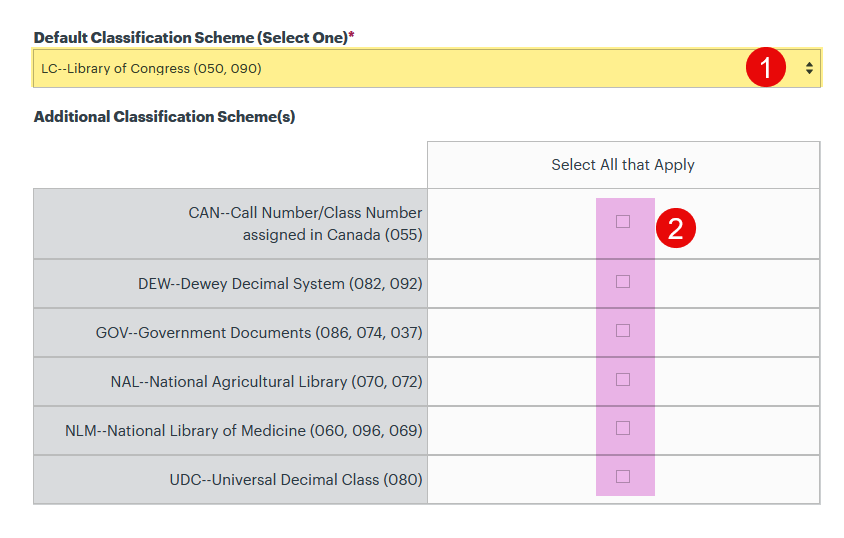
Default Classification Scheme (Select One) and Default Subject Heading (Select One).
A default is required for each, but additional options are available to select as needed after you choose the default. The screenshot below shows how the other options will display after choosing the default.
Add any notes or additional context in the Comments section for the Orders team to take into consideration.
Click on Submit to submit the form - or Next to proceed to another form.
Submit is what allows the form to be sent to Order Services for processing.