Edit rtf notices
About rtf notices and overdues
Libraries may prefer to send an overdue alert notice with an rtf attachment. This allows you to include any organisation logos and such.
The library can use rtf notices to
- send an email to students each with an rtf overdue notice attachment as in Overdue Notices
- you can send one email to a member of library staff including an rtf attachment that contains all the overdue notices (for subsequent printing and posting to students). See Single Email Attachment for Several Overdues. This option is preferred if not all your users have email addresses, as the notices for those without email addresses will be returned to the library email account as a single attachment for printing and distribution.
If you would like to implement or modify your rtf template, please contact your local OCLC Support office to discuss usage of a PDF based alternative. This alternative solution allows for simplified changes of the text without compromising the integrity of the rtf or the embedded tagging.
This topic aims to describe how to edit the attachments which are rich text file (rtf) documents if you need to make changes. For example, change in library address, text of the letter or library telephone number. Due to the nature of the rtf file, it is necessary to do the editing both in Word and in Notepad.
The overdue letter template
- Download a template for your attachment. To obtain this, please contact the UK Support Desk for advice.
- Overdue rtf template
-
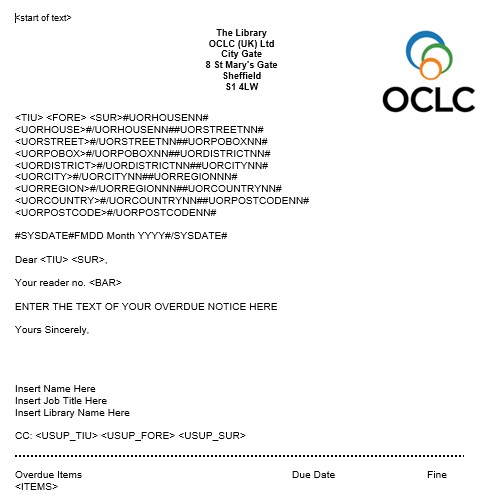
- Open the OverdueLetterTemplate.rtf in Word.
- Save the document as a separate rich text format (rtf) file. Click Save As and save for example, as OverdueLetter1Proto.rtf.
Caution: click Save As before you edit the document. This allows you to subsequently modify the text of the overdue letter.
Modify the text of the overdue letter
Using Word modify the locally saved letter (in this example, OverdueLetter1Proto.rtf ) to the text you require.
Caution: it is important that you do not edit any text within any angle brackets - < > using Word.
Make changes to the text of the body of the letter / the librarian name / library. Once the changes have been made Save.
Modify the data tags in the overdue letter
Once all the changes to the letter text have been made, save another copy locally, renaming the file. For example, save OverdueLetter1Proto.rtf to OverdueLetter1.rtf. This is advised so that, if you ever want to change the letter in the future, you have a ‘clean’ copy of the attachment - OverdueLetter1Proto.rtf - for you to re-edit.
1. Open OverdueLetter1.rtf in Notepad.
2. The next step is to search for the tags to be amended. Go to Edit – Find from the drop down menu (or using the function keys select Ctrl+F).
Search for the term start of text
3. Edit the line:
\par <start of text>
Delete the text \par from the start of that line so that the opening angle bracket is the first character on the line.
<start of text>
4. Next search the document in Notepad for the term address_tags.
\par <ADDRESS TAGS>
Replace that whole line - including the \par with:
#UORHOUSENN#\par <UORHOUSE>#/UORHOUSENN#
#UORSTREETNN#\par <UORSTREET>#/UORSTREETNN#
#UORPOBOXNN#\par <UORPOBOX>#/UORPOBOXNN#
#UORDISTRICTNN#\par <UORDISTRICT>#/UORDISTRICTNN#
#UORCITYNN#\par <UORCITY>#/UORCITYNN#
#UORREGIONNN#\par <UORREGION>#/UORREGIONNN#
#UORCOUNTRYNN#\par <UORCOUNTRY>#/UORCOUNTRYNN#
#UORPOSTCODENN#\par <UORPOSTCODE>#/UORPOSTCODENN#
5. Next search for the term <items>.
Delete the text \par from the start of that line so that the opening angle bracket is the first character on the line.
<ITEMS>
6. Finally, search for the terms end of text
\par <end of text>
Delete the text \par from the start of that line so that the opening angle bracket is the first character on the line.
<end of text>
7. Save and close the file.
The overdue alert notices can now be set up and the rtf files attached as described in Configure overdues.