Create a borrower barcode list
Learn how to create a borrower barcode list in Amlib.
Amlib has the facility to print lists of barcodes:
- Install the barcode font – see attached ZIP file
- Use the &BARCODG.QRP (list of barcodes: Name and Group) or &BARCODE.QRP (list of barcodes: Name only)
Install Barcode Fonts (Windows 7)
- The barcode fonts are saved when Amlib is installed and then need to be installed on the PC that will view the report. Alternatively you can log into the Content Portal and search for the ‘BarcodeFont.zip’ file and download this.
- Locate the Amlib folder on the C:/ drive or network server.
- Navigate to the Utility folder then the Barcode font folder.
- Copy the FRE3OF9X.TTF and FREE3OF9.TTF files onto the desktop or a local folder on the PC.
- Right click on each file in turn and select Install (note you may need I.T. assistance to do this if you do not have permission to write to the Windows/Fonts folder).
- A notification will show that the font is installing:

Install Barcode Fonts (XP and earlier)
- The barcodes fonts are installed with Amlib and can be found in Amlib folder on the C: drive or network server. Alternatively you can log into the Content Portal and search for the ‘BarcodeFont.zip’ file and download this.
- Copy the Barcode Fonts folder into your Amlib folder on the C: drive or network server.
- On your PC:
- Go to Start > Control Panel > Fonts.
- From the File menu, select Install New Font...
- Find the Amlib folder and double-click the Barcode Fonts folder.
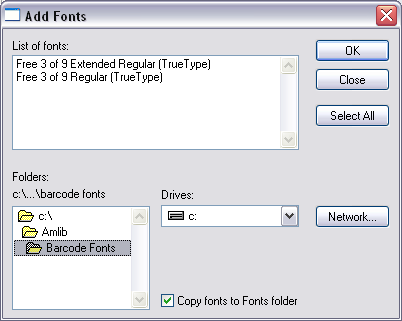
- Choose Select All to select both font files.
- Click the OK button.
The fonts will then be loaded.
Save the Template
Save both the &BARCODE.QRP and &BARCODG.QRP templates into the Amlib/Reports folder on the Amlib server. This will make the template available for use for all users. Alternatively, you may save it into a local folder on your PC – but please be aware, that the template (once loaded) will only be available for use on that PC.
Load the Template
- Launch the Amlib client.
- Go to Main > Reports > RepAddNew – the Report Files screen will display.
- Select Borrower from the Report Entity drop-down menu.
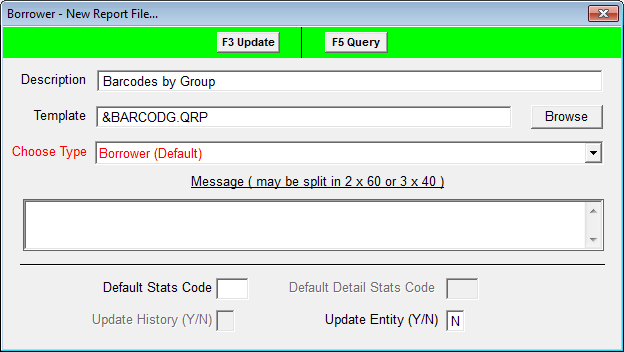
- Click the F1 New button – the Borrower - New Report File screen will display.
- Type in a Description – for example: Barcodes by Group.
- Click on the Browse button – the Choose Report screen will display:
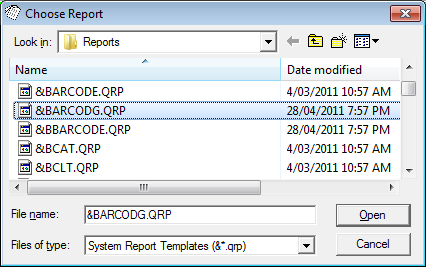
- Change the Files of Type: dropdown to System Report Templates (&*.qrp)
- Navigate to the Amlib/Reports folder on your Amlib server and locate the &BARCODG.QRP template to be loaded (if the template has been loaded onto your PC – then navigate to the local folder).
- Click the Open button.
- Choose Type = Borrower (Default)
- You can leave Default Stats Code and Default Detail Stats Code blank.
- Update Entity (Y/N) = N
- Click the F3 Update button.
- Repeat steps 5 - 14 to add in &BARCODE.QRP – Barcodes by Name.
- Close out of the Report Files screen.
Create the Report
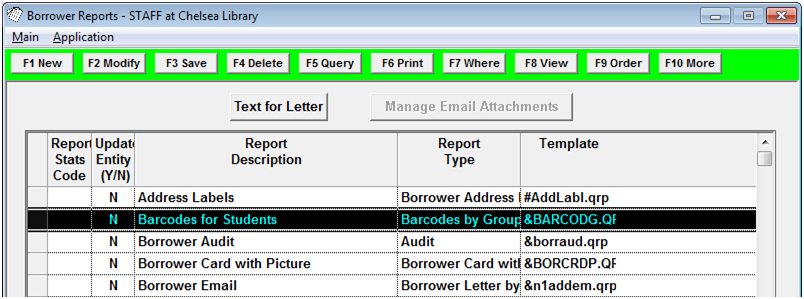
- Go to Main > Reports > RepBorrower – the Borrower Reports screen will display.
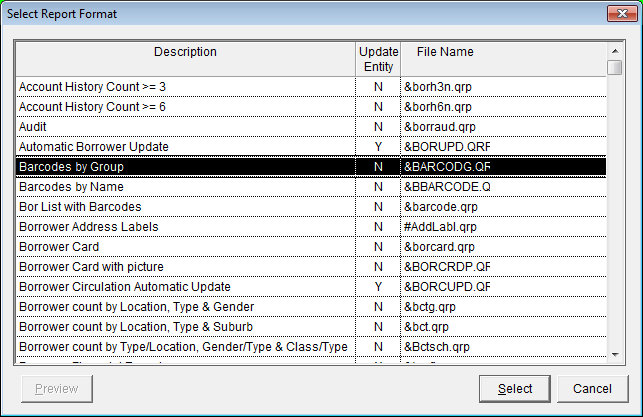
- Click the F1 New button.
- Select the Barcode by Name (&BARCODE.QRP) or Barcode by Group (&BARCODG.QRP) – you will need to load separately.
- Type in a Report Description – for example: Barcodes for Students.
- Click the F3 Save button.
- Click the F7 Where button – the Borrower Reports – Where screen will display.
- Add in search criteria for BorGroup, BorClass and/or BorType (or whatever you wish to choose).
- Click the F3 Save button when complete.
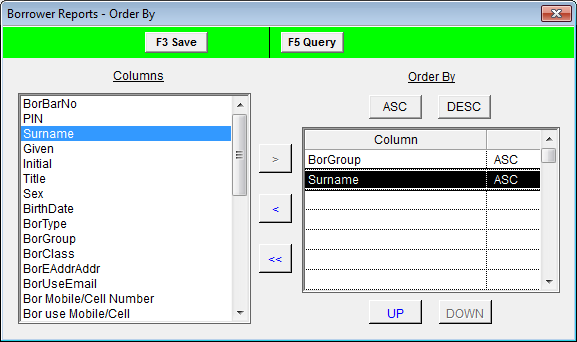
- Click the F9 Order button – the Borrower Reports – Order By screen will display.
- Use the arrow keys to add your sort by fields (for example: BorGroup and Surname)
- Click the F3 Save button when complete
- Click the F8 View button – a prompt with the following message will display: This type of report may use a Saved File as a Source. Do you want to select the file now?
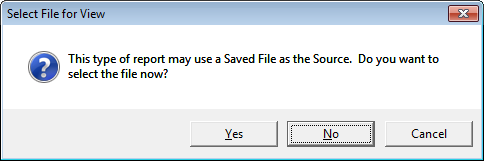
- If you had previously entered no F7 Where parameters, you may wish to click the Yes button and select a Saved File from the list, otherwise click the No button.
- The Report – View screen will display:
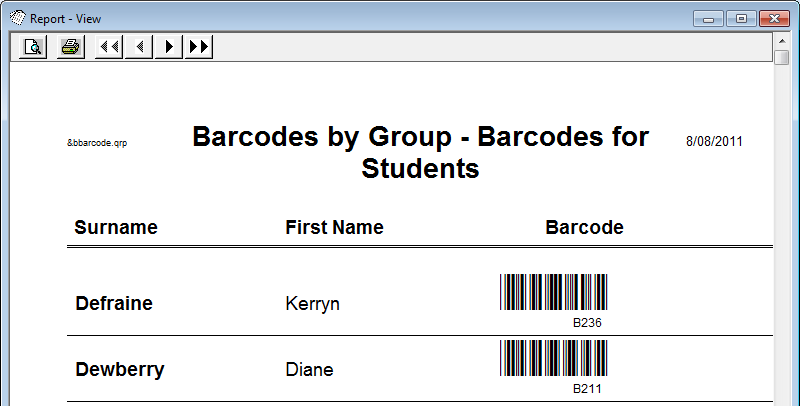
- You can print from this screen by choosing the printer icon at the top of the screen.