Borrower update report
Borrower update reports can now be run to change borrower status, add memos and delete the address 3 field (for those borrowers that are changing to adult status).
In the following example, we are changing the Borrower Type of Young Adult members to an Adult Type and deleting the Guardian Address.
Template
- Launch the Amlib client.
- Go to Main > Reports > RepAddNew – the Report Files screen will display:
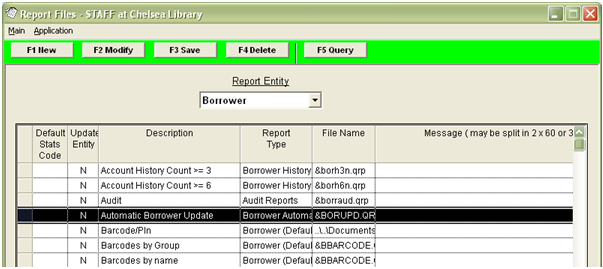
- Locate and highlight the &BORUPD.QRP template.
- Click the F2 Modify button – the Borrower – Modify Report File screen will display:
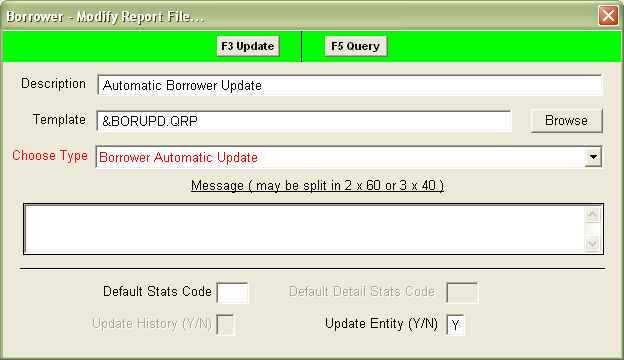
- Check the following settings:
- Choose Type = Borrower Automatic Update
- Update Entity (Y/N) = Y
- Click the F3 Update when complete.
Create the Report
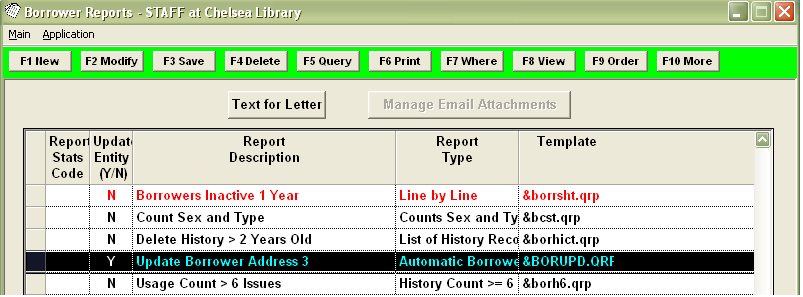
- Go to Main > Reports > RepBorrower – the Borrower Reports screen will display.
- Click the F1 New button – the Select Report Format list will display:
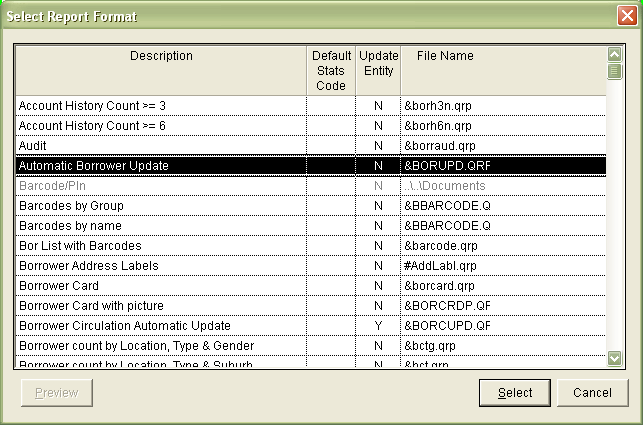
- Highlight the &BORUPD.QRP template and click the Select button.
- A new report will be added to the list of reports.
- Type in a Description – for example: Update Borrower Address 3.
- The Update Entity (Y/N) column setting must be set to Y
- Click the F3 Save button when complete.
Set Where Parameters
Your where parameters can be set according to the changes you need to make to your database, and which group(s) of people these changes apply to.
The Where statement here selects those borrowers with a YA borrower type who are now over 18.
If you are unsure of how to set your where parameters for the update you wish to carry out, please contact Amlib support.
- Highlight the Report.
- Click the F7 Where button – the Borrower Reports – Where screen will display:
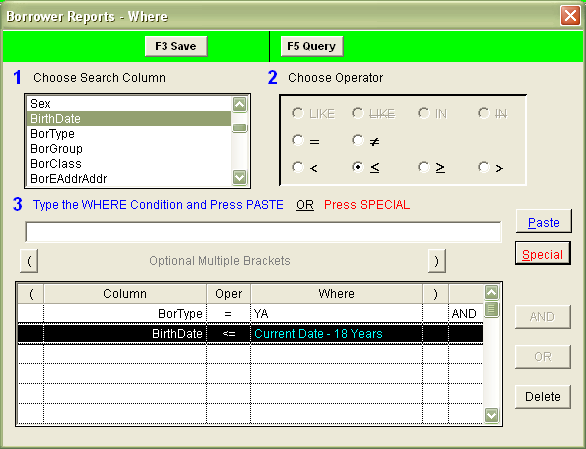
- Enter the following details:
- BorType – for example: BorType = YA
- BirthDate – for example: BirthDate <= Current Date – 18 Years (use the Special button to insert Current Date – 216 months)
- Click the F3 Save button when complete (the Where screen will close).
Update Parameters (F10 More)
The F10 More button is used to set up the new values and whether a Memo is to be sent.
A report employing F10 More parameters must be run via the Scheduler.
| Column 1 | Column 2 | Column 3 | Column 4 | Column 5 | |
|---|---|---|---|---|---|
| HEADING | Report Line Number | Column | New Value | Send Memo | Address 3 |
| EXAMPLE | 1 | T | A | Y | <leave blank> |
| 2 | <leave blank> | <leave blank> | <leave blank> | Y | |
| COMMENT |
Line 1 is used for updates Line 2 is used to delete Borrower Address 3 |
Borrower field - can be Borrower Types (T), Classes (C), Groups (G) or Status (S) | The new value - must be a valid code for the selected column | If Y, create the memo in Text for Letter, found at the top of the Borrower Reports screen | If Y, can be used to delete Address 3 (Guardian Address) from Borrower record |
- Highlight the report.
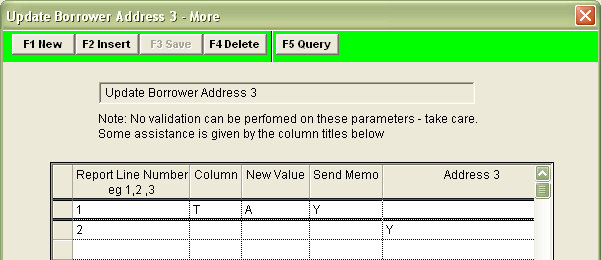
- Click the F10 More button – the More screen will display.
- Click the F1 New or F2 Insert button.
- Enter the following Line 1 parameters (see Notes below):
- Report Line Number = 1
- Column = T
- New Value = A (for Adult)
- Send Memo = Y (optional)
- Click the F3 Save button when complete.
- Enter the following Line 2 parameters (see Notes below):
- Address 3 = Y (this will delete the Borrower’s Guardian Address)
- Click the F3 Save button when complete.
Notes
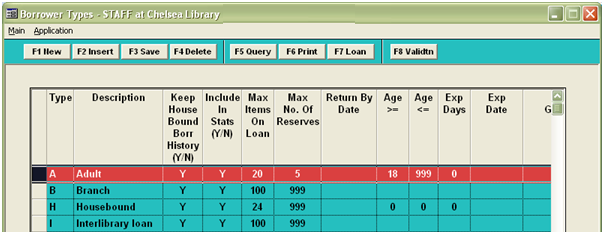
Updates: The new value is the new Borrower Type (or Borrower Status, Borrower Class or Borrower Group) that you wish to change the Borrowers to.
In the example given above, the Borrower Type would be changed to Adult, or A. The value entered in this column will depend on your Borrower Type settings. If you unsure, check your settings before proceeding: Go to Main > Borrower > BorrowerTypes:
Memo: If you wish to add a memo to each borrower record that is changed, type a Y in the Send Memo column. Otherwise, type N in the Send Memo column.
Delete Guardian Address: Type a Y in the Address 3 column if you wish to have the guardian address deleted (for example in the case where YA members are changed to A members, for these records you may prefer to have the guardian address deleted as this is no longer required).
Memos
If you have placed a Y in the Send Memo column, then the Memo text must then be set up.
- Highlight the report.

- Click the Text for Letter button – the Letter Text screen will display:
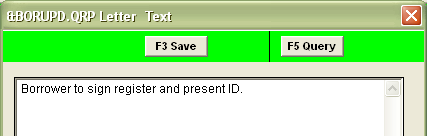
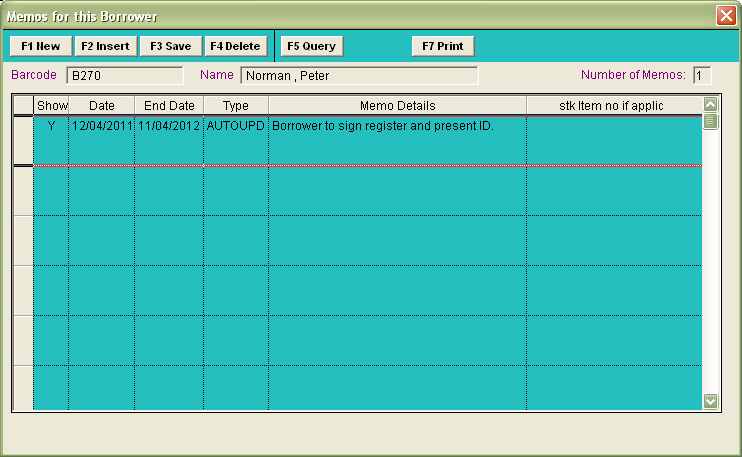
- Type in the text that you would like to see in the Borrower Memo – for example: Borrower to sign register and present ID.
- Click the F3 Save button when complete
View Report
Once the report is set up, you can then preview the report as follows:
- Highlight the report and click the F8 View button.
- The Select File for View pop-up will appear:
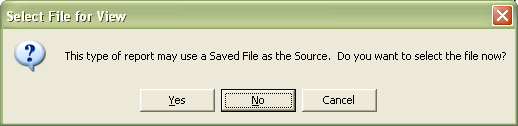
- Click the No button to run this report against all borrowers.
- The report will open in the Report – View window:
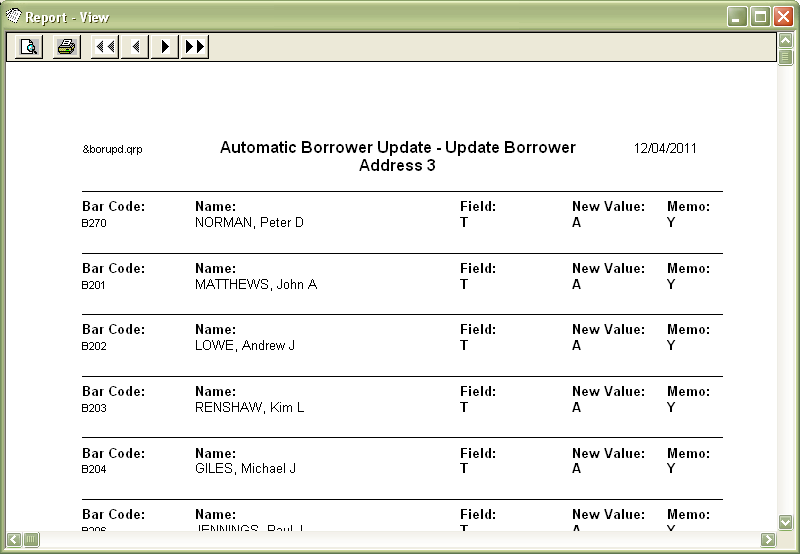
- If you wish to print a hardcopy, click on the print icon.
Print Report (via Scheduler)
Borrower Update reports MUST be run via the Scheduler.
Start the Scheduler
- From the Reports screen, select Application > RepStartSchedule.

- The Report Scheduler screen will then open.
- Select your printing options: Ensure Save to File is ticked (you can tick all three if you intend on printing up multiple reports using multiple formats during a session).

- Then click the OK button.
- After clicking OK, if you go back into the Application menu you will see that RepStartSchedule is now greyed out with a tick next to it – this indicates that the Scheduler is now running.

Schedule the Report
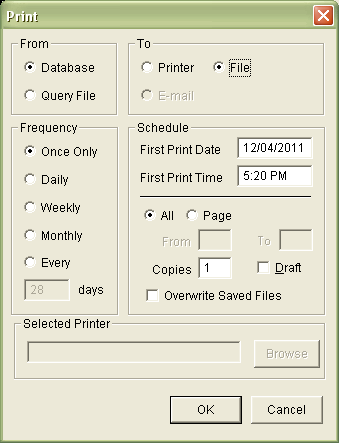
- With your report highlighted, select the F6 Print button – the Print dialogue box will open.
- Select from the following options:
- From:
- Database (to search the entire database)
- To:
- File (to save a report as a file)
- Frequency:
- Once Only
- Once Only
- From:
- Once you have selected all of your settings, click the OK button – the Report – Save As screen will display:
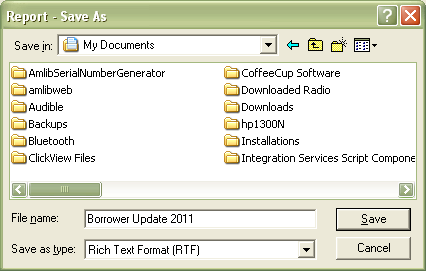
- Select a Save in: location and type in a File name:
- Click the Save button when complete
Check Print Progress
- You can check the progress of your reports at any time by going into Main > Reports > RepPrintProgress.
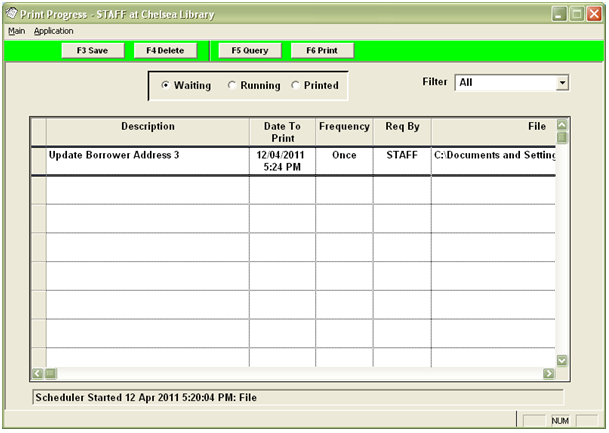
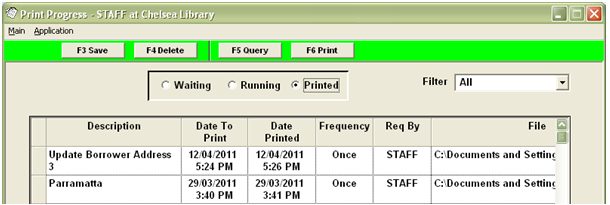
- You can also click through the three tab options at the top to see the ones that are Waiting, Running, or have already been Printed.
- Your report will show up in Printed when it is complete.
The matching Borrower details should then be updated.
Updated Borrower Record:
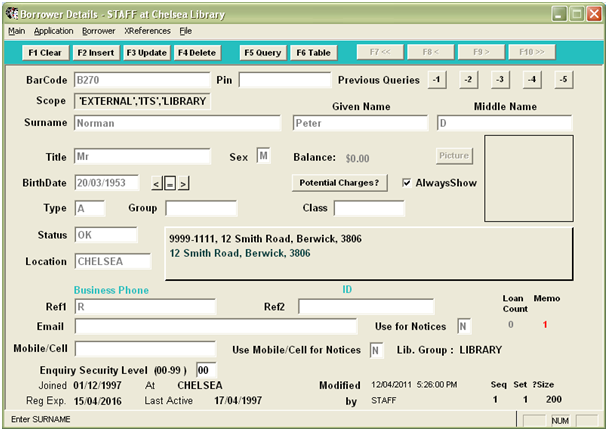
Memo that appears in Circulation: