Borrower circulation auto update
The Borrower Circulation Automatic Update (&BORCUPD.QRP) template was created for the purpose of automatically changing the status of borrowers based on the inclusion of due date parameters in the Where statement of the report. The application of this would be to change borrowers with overdues past a certain due date to a SUSPENDED status. This report can only be used with borrowers who have items on loan.
To set up the process correctly, the following reports would need to be scheduled in this order:
- Borrower Automatic Update (&BORUPD.QRP) to set all borrowers with a SUSPENDED status back to a status of OK
- Borrower Circulation Automatic Update (&BORCUPD.QRP) to set all borrowers with the given due date parameters to a SUSPENDED status
In the event that any borrowers with a SUSPENDED status return or pay for all their overdues, the scheduling of the reports in this way ensures that those borrowers will be re-instated to a status of OK. The running of the Borrower Circulation Automatic Update then re-calculates which borrowers still fit the criteria for suspension, so that these borrowers still have their SUSPENDED status.
Note: When the Borrower Circulation Automatic Update report is run, a borrower file is also created which contains all the records for borrowers that have had their status changed.
Set up the reports
Create the borrower automatic update report
- Click the F1 New button – the Select Report Format screen will display.
- Highlight the Borrower Automatic Update (&BORUPD.QRP) and click the Select button.
- Type in a Description – for example: Borrower Update – Clear Suspensions.
- Ensure the Update Entity (Y/N) column = Y
- Click the F3 Save button when complete.
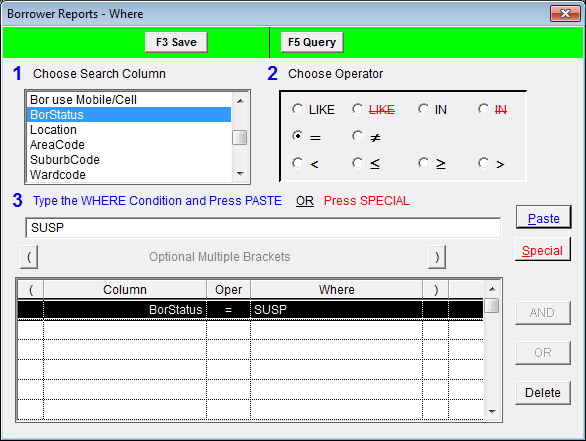
- Highlight the report and click the F7 Where button – the Borrower Reports – Where screen will display.
- Enter the Borrower Status to be checked (and cleared) – for example: BorStatus = SUSP.
- Click the F3 Update button when complete.
F10 More
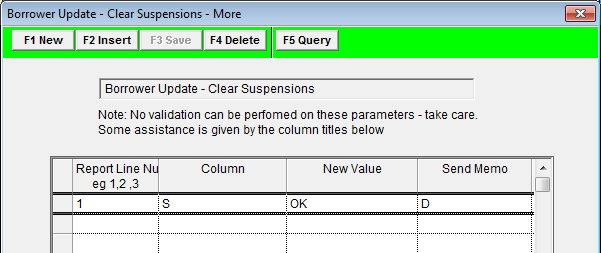
- Click the F10 More button – the More screen will display.
- Click the F1 New or F2 Insert button.
- Enter the following parameters:
- Report Line Number = 1
- Column = S (for Status)
- New Value = OK (for Unrestricted)
- Send Memo = D (this will delete the memo if it no longer applies)
- Address 3 = <leave blank>
| Column 1 | Column 2 | Column 3 | Column 4 | Column 5 | |
|---|---|---|---|---|---|
| Heading | Report Line Number | Column | New Value | Send Memo | Address 3 |
| Example | 1 | S | OK | D | <leave blank> |
| Comment | Line 1 is used for updates | Borrower field - can be Borrower Types (T), Classes (C), Groups (G) or Status (S) | The new value - must be a valid code for the selected column | If D, will delete if it no longer applies - otherwise set to N to leave in place |
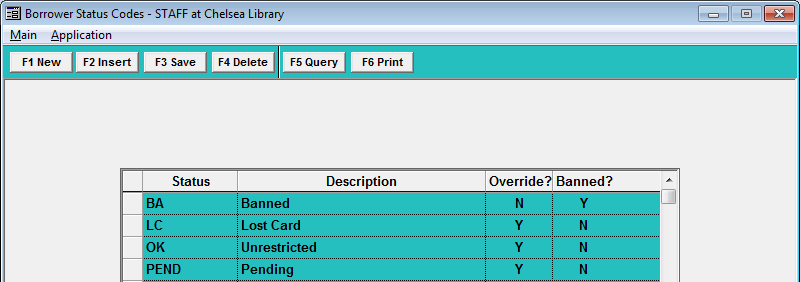
The Column is set to S in order to change the Status. The new value is the normal OK status you would have your borrowers default to – this will depend on the settings you have in the Borrower Status Codes screen (Main > Borrowers > Borrower – Application > Borrower Status):
- Click the F3 Save button when complete.
Create the Borrower Circulation Automatic Update report
- Launch the Amlib client.
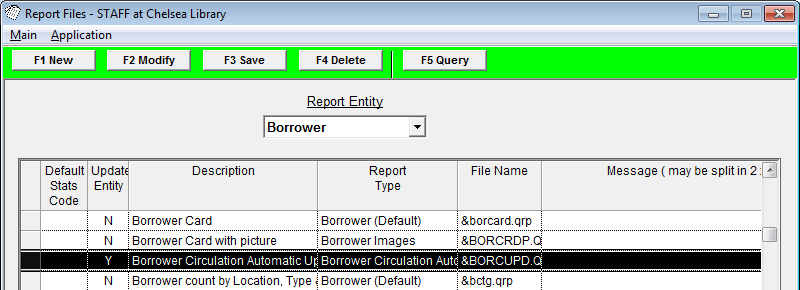
- Ensure that the borrower circulation update template is correctly set in Main > Reports > RepAddNew – Entity = Borrower:
- Report Type = Borrower Circulation Automatic Update
- File Name = &BORCUPD.QRP (not to be confused with &BORUPD.QRP)
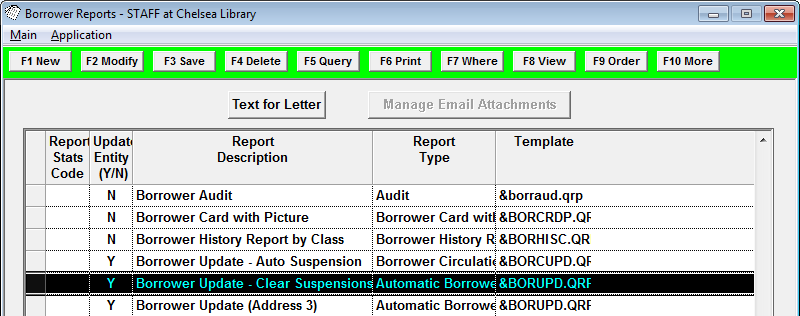
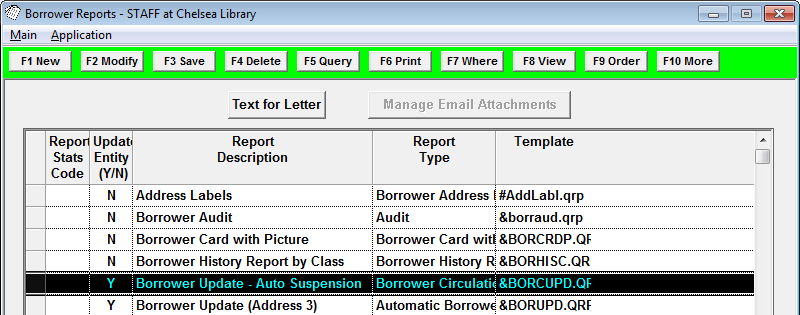
- Go to Main > Reports > RepBorrower – the Borrower Reports screen will display.
- Click the F1 New button – the Select Report Format screen will display.
- Highlight the Borrower Circulation Automatic Update (&BORCUPD.QRP) and click the Select button.
- Type in a Description – for example: Borrower Update – Auto Suspension.
- Ensure the Update Entity (Y/N) column = Y
- Click the F3 Save button when complete.

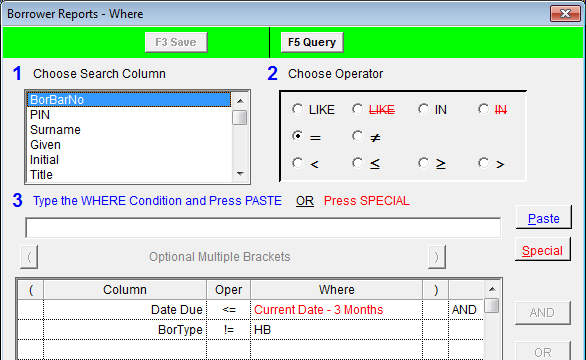
- Highlight the report and click the F7 Where button – the Borrower Reports – Where screen will display
- Set the due date parameter based on your criteria for suspension of borrowers. You may also choose to include parameters if you wish to exclude certain borrowers (for example: housebound borrower type or specific location).
- Click the F3 Update button when complete.
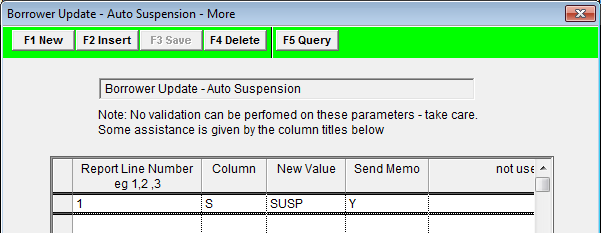
F10 More
- Click the F10 More button – the More screen will display.
- Click the F1 New or F2 Insert button.
- Enter the following parameters:
- Report Line Number = 1
- Column = S (for Status)
- New Value = SUSP (for Suspended)
- Send Memo = Y
| Column 1 | Column 2 | Column 3 | Column 4 | Column 5 | |
|---|---|---|---|---|---|
| Heading | Report Line Number | Column | New Value | Send Memo | not used |
| Example | 1 | S | SUSP | Y | <leave blank> |
| Comment | Line 1 is used for updates | Borrower field - can be Borrower Types (T), Classes (C), Groups (G), or Status (S) | The new value - must be a valid code for the selected column | If Y, create the memo in Text for Letter, found at the top of the Borrower Reports screen |
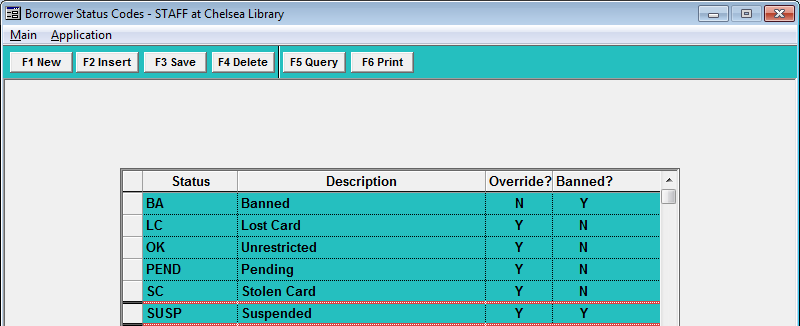
The column is set to S in order to change the Status. The new value is the status you are changing your borrowers to – this will depend on the settings you have in the Borrower Status Codes screen (Main > Borrowers > Borrower – Application > Borrower Status):
The Send Memo can be set to either Y or N. If set to Y, the memo will be attached to each borrower’s record as a borrower memo.
- Click the F3 Save button when complete.
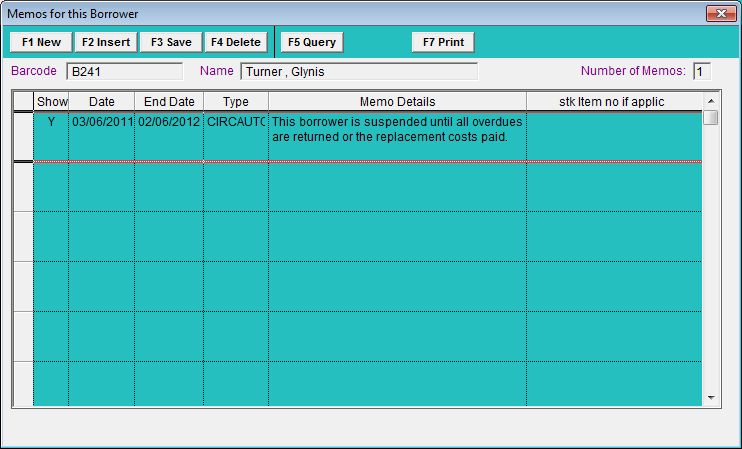
Memo
If you set the Send Memo column to be Y in the F10 More screen you will need to fill in the content of your memo.
- Highlight your report and click the Text for Letter button – the Letter Text screen will display.
- Enter the memo text – for example: The borrower is suspended until all overdues are returned or the replacement costs paid.
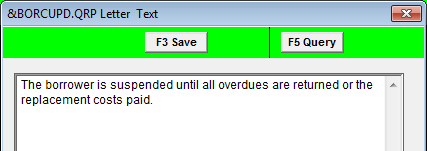
- Click the F3 Save button when complete and click on the red [X] to close the window.
Print report (via Scheduler)
Borrower update reports must be run via the Scheduler.
Start the scheduler
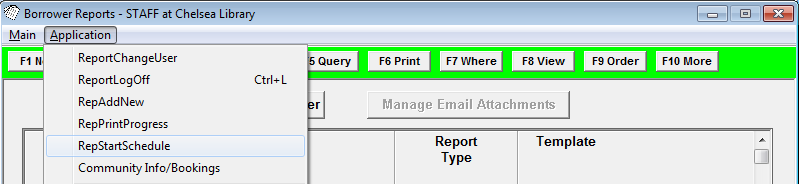
- From the Reports screen, select Application > RepStartSchedule
- The Report Scheduler screen will display.
- Select your printing options: ensure Save to File is ticked (you can tick all three if you intend on printing up multiple reports using multiple formats during a session).
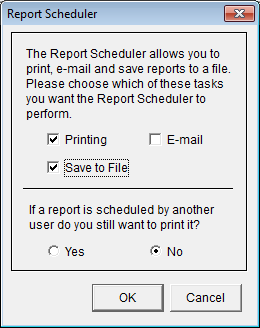
- Then click the OK button.
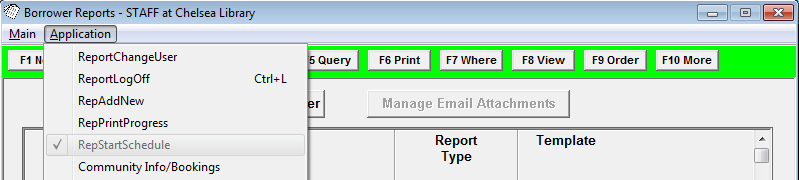
- After clicking OK, if you go back into the Application menu you will see that RepStartSchedule is now greyed out with a tick next to it – this indicates that the Scheduler is now running.
Scheduling the report
IMPORTANT! In order to ensure that only those borrowers with outstanding items are/remain suspended, the reports MUST be run in the following order:
- Borrower Automatic Update (&BORUPD.QRP) to set all borrowers with a SUSPENDED status back to OK.
- Borrower Automatic Circulation Update (&BORCUPD.QRP) to set all borrowers with the given due date parameters to a SUSPENDED status.
The reports can be run manually run or scheduled to run daily/weekly (as long as they are run in the correct order).
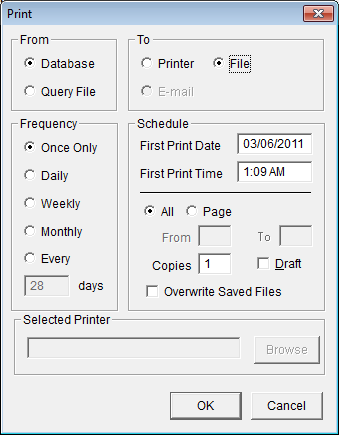
- With your report highlighted, select the F6 Print button – the Print dialogue box will display.
- Select from the following options:
- From:
- Database (to search the entire database)
- To:
- File (to save a report as a file)
- Frequency:
- Any frequency can be used: Once Only, Daily, Weekly or Monthly
- Schedule:
- First Print Date – in DD/MM/YYYY format
- First Print Time
- From:
IMPORTANT! In order to ensure that only those borrowers with outstanding items are/remain suspended, the reports MUST be run in the correct order!
- Once you have selected all of your settings, click the OK button – the Report – Save As screen will display:
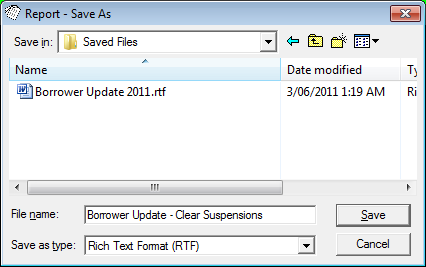
- Select a Save in: location and type in a File name: - for example: Borrower Update- Clear Suspensions or Borrower Update – Set Suspensions.
- Click the Save button when complete.
Check print progress
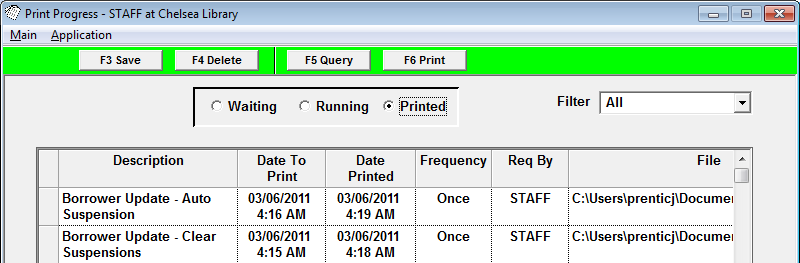
- You can check the progress of your reports at any time by going into Main > Reports > RepPrintProgress.
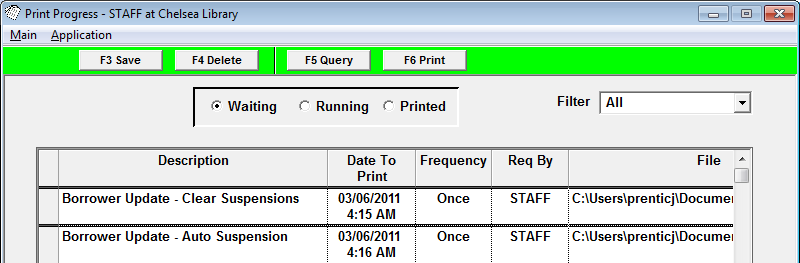
- You can also click through the three tab options at the top to see the ones that are Waiting, Running, or have already been Printed.
- Your report will show up in Printed when it is complete.
Check the suspended borrowers
If required, borrowers that have been suspended with the Borrower Circulation Automatic Update report can be checked from a borrower file.
- Launch the Amlib Client.
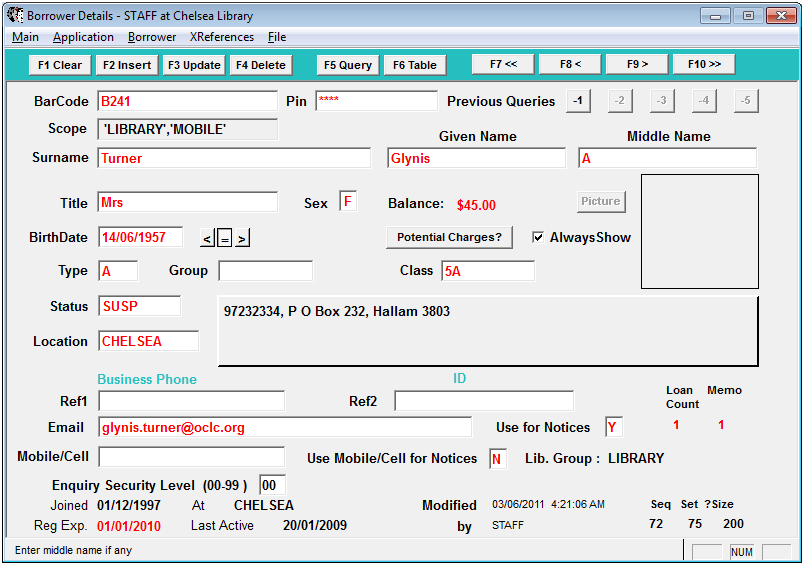
- Got to Main > Borrowers > Borrower – the Borrower Details screen will display.
- From the menu, select File > DisplayFile – the Borrower Saved Query Results screen will display:
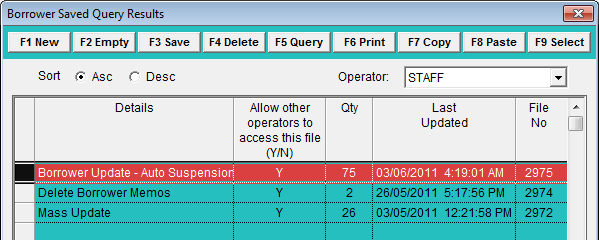
- Borrower Circulation Automatic Update will be listed under the report name – for example: Borrower Update – Auto Suspension.
- Highlight the saved file and click the F9 Select button to see a Borrower List of the borrowers who have been suspended:
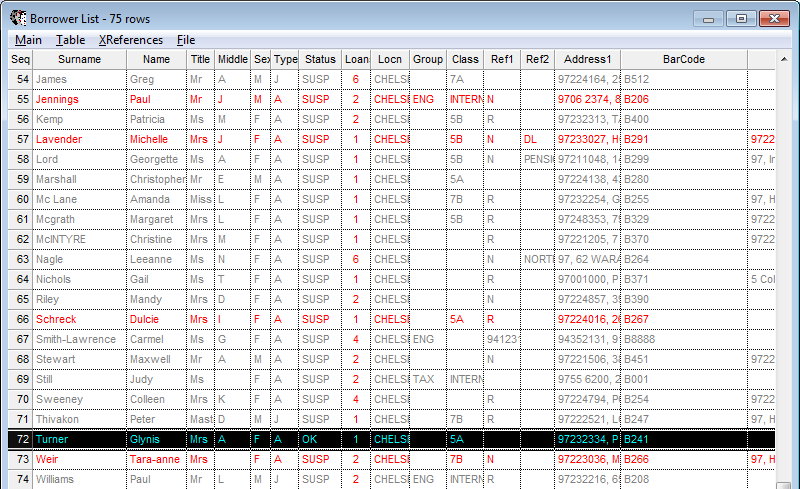
- Double-click on a name to bring up the Borrower Details: