Save a report to file
Learn how to save a report to a file by table or report in Amlib.
You can save your reports to a file, for email or formatting, or just to keep it in an electronic format rather than paper. The two ways of doing this are by Table or Report.
Table
- Launch the Amlib client.
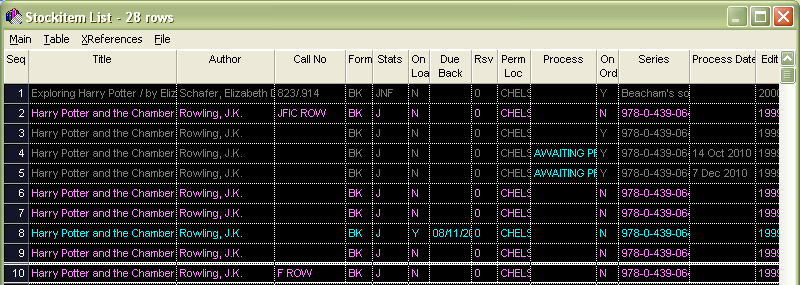
- Access a module and perform a search – the results will display in a List.
- Highlight the items you would like to save to file.
- Type Ctrl-C to copy them.
- Open up MS Excel or Word.
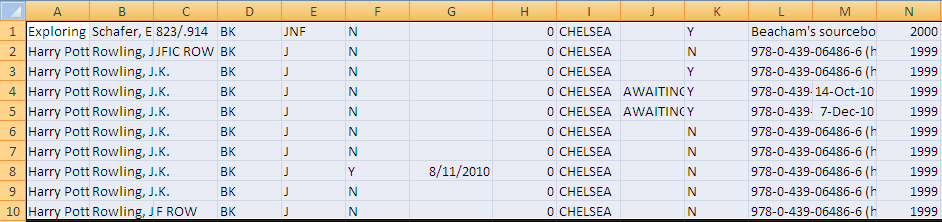
- Type Ctrl-P to paste the selection into a table or page.
After getting a table of results in one of the modules, you can highlight them all to select them and do Ctrl + Insert to copy them. Then you can paste the items into Excel or Word.
↓
This method works best if you don’t have a large number of results.
Report
There are several Excel report templates available which can be used to save to a file.
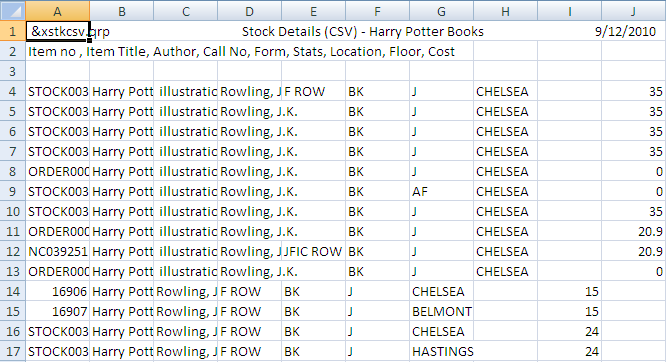
In this example, we are going to use the &XSTKCSV.QRP template in the Reports > RepStockitem module:
- Go to Main > Reports > RepStockitem. The Stockitem Reports screen will open.
- Click the F1 New button and select the &XSTKCSV.QRP template.
- Enter an appropriate Description and click the F3 Save button.
- Enter an appropriate F7 Where search (e.g., Title LIKE Harry Potter).
- Order the Report (e.g., Title | ASC).
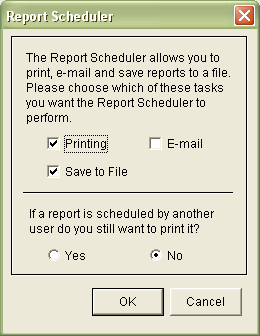
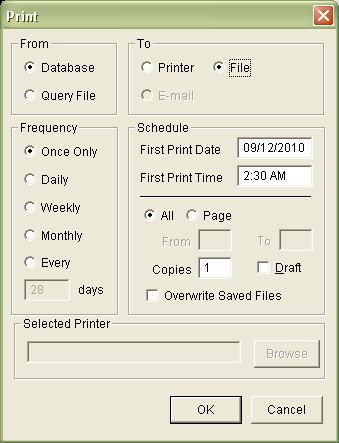
- Select Application > RepStartSchedule. Ensure that Save to File is ticked and click the OK button.
- Click the F6 Print button. Change the To: option to File and click the OK button.
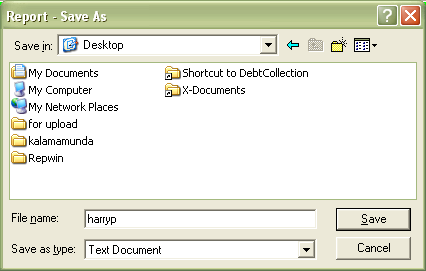
- A Report – Save As dialogue box will open:
- To save it for a Word document, leave the Save as type: as Rich Text Format (RTF).
- To be able to open it in Excel, change the Save as type: to Text Document.
- You can check the progress of your report in Reports > RepPrintProgress.
- If you’ve saved the report to open in Excel (Text Document) then you will need to follow these steps so it is displayed correctly:
- Open Microsoft Excel.
- Use File > Open to open the text file you’ve saved. Ensure that the Files of type: = All Files (*.*).
- The Text Import Wizard will open.
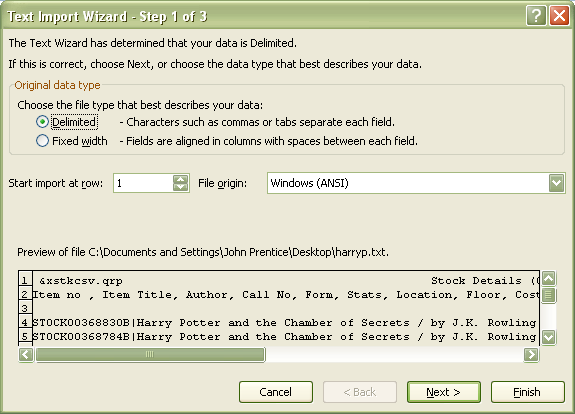
- Excel will recognise your file as Delimited, so click the Next button.
- Delimiters: select Semicolon and add a pipe | in the Other box.
- Click the Next button and then the Finish button.

- Your data will be transferred into the Excel sheet and you can now use the formatting tools to customise it: