RepAddNew
Learn how to load new report templates into the Amlib client.
Load templates
Any new/customised reports template needs to be saved somewhere that can be accessed by every workstation, such as the Amlib/Reports folder on your Amlib server.
To add them into the Amlib client:
- Launch the Amlib client.
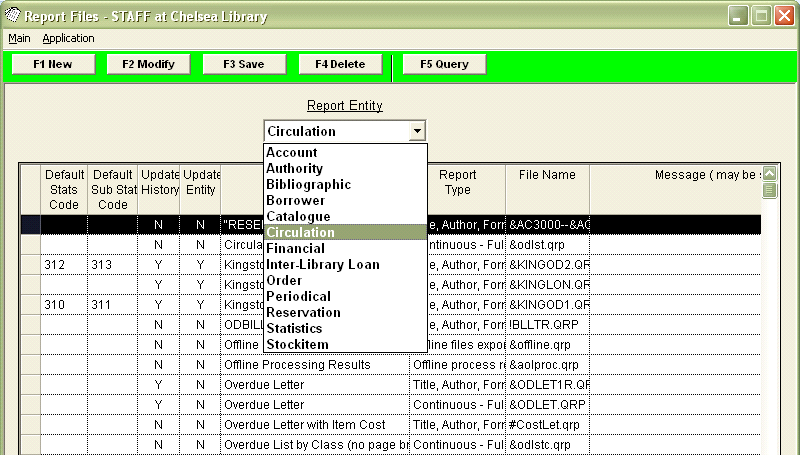
- Go to Main > Reports > RepAddNew. The Report Files window will open.
- From the Report Entity drop-down, select the appropriate module for your report (e.g., Circulation).
- Click the F1 New button. The New Report File window will open.
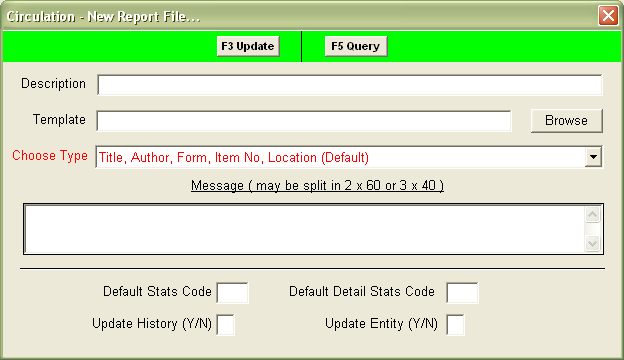
- Enter an appropriate Description (e.g., Overdue Notice (Letter)).
- Template – click the Browse button. The Choose Report window will open.
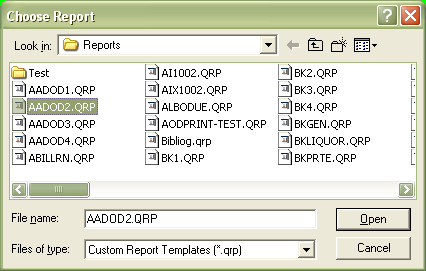
- Navigate to the Amlib/Reports folder on your Amlib Server (if the template has been loaded onto your PC – then navigate to the local folder).
- Files of type:
- Select Custom Report Templates (*.qrp) for customised templates.
- Select System Report Templates (*.qrp) for all standard system templates.
- Locate the template to be loaded and highlight it.
- Click the Open button. The template will be selected the Choose Report window will close.
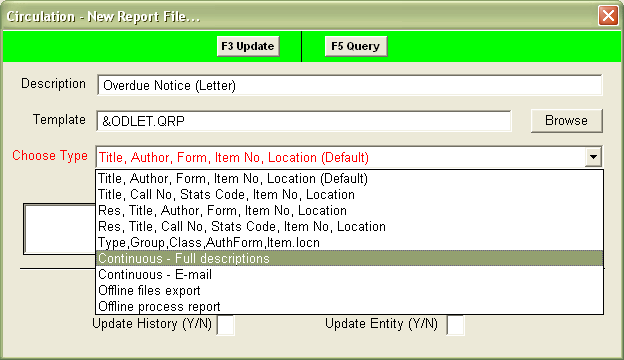
- Choose Type – it is essential that the appropriate type be chosen that this will inform how your template operates and the information that is sent to it – in this example: Continuous - Full descriptions has been selected. Note that the Type will be the same as the original template the edited version was based on.
- Message – Leave blank.
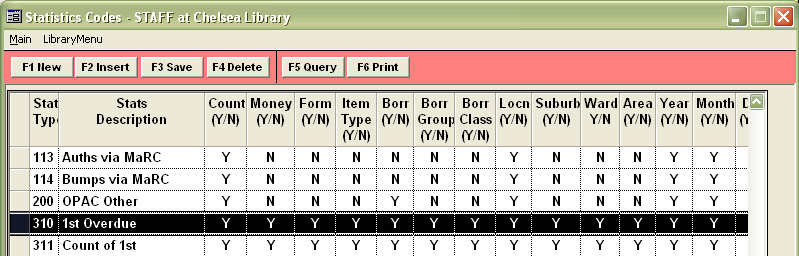
- Default Stats Code – it is possible to collect statistics on the number of times that this report is run by adding an entry into the Statistics Codes table (Main > Supervisor > StatsParams) and then adding the Stat Type into the Default Stats Code box – this is optional and may be left blank.
- Default Detail Stats Code – it is possible to collect statistics on the number of individual notices that a particular report generates by adding an entry into the Statistics Codes table (Main > Supervisor > StatsParams) and then adding the Stat Type into the Default Detail Stats Code box (not available for all modules) – this is optional and may be left blank.
↓

- Update History (Y/N) – it is possible to retain a record of the report having been generated – for example: the above Overdue Letter report can add a record of the overdue being printed to the Borrower History of affected patrons.
- Update Entity (Y/N) – this field can be used to update the status or alter a parameter of a record – for example: an account may be generated for an overdue circulation report.

- Click the F3 Update button.
- Close out of the Report Files window. The template is now loaded into Amlib.
Final steps
- Open the correct report module where you want to run this report from Main > Reports > RepXxxxxxxxx.
- Click F1 New. Scroll down the list of templates, locate and highlight this new one you just added [ they are alphabetically arranged, so if you remember the name you gave it, it will be easy to spot. Otherwise look down the right-hand column till you spot the template you added xxxx .QRP > highlight it then click > Select.
- It has now been added to Rep xxxxxxxxx module you chose, but you will still need to give it a description now.
- Click F3 Save.
- Highlight it again and now you can set up your F7 Where statements you require. Select F3 Save. Now you are ready to run this new report.