Export report data to Excel
Learn how to save and load a template as well as create a report that can be exported to Excel in Amlib.
MS Excel/CSV report templates
A number of report templates have been specifically set up to be exported and used in MS Excel.
| template | module/entity | description | report type/choose type |
|---|---|---|---|
| &BIBCSV.QRP | Bibliographic | Bibliographic Export | Fixed layout Reports |
| &BORCSV1.QRP | Borrower | Borrower Export CSV File (Barcode, Surname, Given Name, Initial, Ref 2, Borrower Type, Class, Group, D.O.B.) | Borrower (Default) |
| &BORDATA.QRP | Borrower | Borrower Export CSV File (Surname, Given Name, Initial, Barcode, D.O.B., Class, Borrower Type, Ref2) | Borrower (Default) |
| &BORPIN.QRP | Borrower | Borrower Export CSV File (Barcode, PIN) - Only For EBook providers who require only these details of your borrowers for their setup. | Borrower (Default) |
| &XBCT.QRP | Borrower | MS Excel format – counts by Borrower Type | Borrower (Default) |
| &XBCLT.QRP | Borrower | MS Excel format – counts by Location and Borrower Type | Borrower (Default) |
| &XSTAT10.QRP | Statistics | Summary by Location, TransType, Year. Fields delimited by semi-comma to be saved as Text file & opened in Excel. | Statistics |
| &XSTAT20.QRP | Statistics | Summary by Location, TransType, Year, Month. Fields delimited by semi-comma to be saved as Text file & opened in Excel. | Statistics |
| &XSTAT30.QRP | Statistics | Summary by Location, TransType, Year, Month, Day. Fields delimited by semi-comma to be saved as Text (.txt) file & opened in Excel. | Statistics |
| &XSTAT50.QRP | Statistics | Details by Location, TransType, BorType, ItemForm. Fields delimited by semi-comma to be saved as Text file & opened in Excel. | Statistics |
| &XSTAT52.QRP | Statistics | Details of Location, TransType and Stats Code | Statistics |
| &XSTAT53.QRP | Statistics | Details of Location, TransType and Form Code | Statistics |
| &XSTKCS.QRP | Stockitem | MS Excel format – Stockitem Count by Stats Code | Stockitems (Default) |
| &XSTKCLS.QRP | Stockitem | MS Excel format – Stockitem Count by Location and Stats Code | Stockitems (Default) |
| &XSTKFS.QRP | Stockitem | MS Excel format – Stockitem Count by Form | Stockitems (Default) |
| &XSTKCSV.QRP | Stockitem | MS Excel format – Stockitem list-Title, Author, Call No, Form and Stats Code | Stockitems (Default) |
Save the template
- It is possible to customise any of the above templates to add/delete fields.
- Save the customised template into the Amlib/Reports folder on the Amlib server. This will make the template available for use for all users. Alternatively, you may save it into a local folder on your PC – but please be aware, that the template (once loaded) will only be available for use on that PC.
- Ensure that the template is saved with a name that clearly identifies it as a customised overdue letter template (e.g., XSTKCSV2.QRP).
Load the template
- Launch the Amlib client.
- Go to Main > Reports > RepAddNew.
- The Report Files window will open. Ensure that the Report Entity matches that in the table above.
- Click the F1 New button.
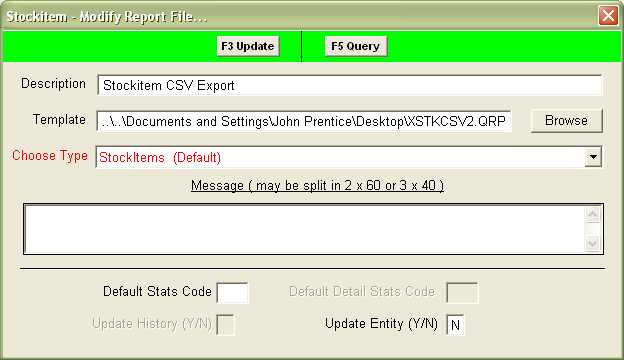
- Enter a Description (e.g., Stockitem CSV Export).
- Browse to the Amlib/Reports folder on your Amlib Server and locate the template to be loaded (if the template has been loaded onto your PC – then navigate to the local folder).
- Click the Open button.
- Select the appropriate Choose Type – see table above.
- You can leave Default Stats Code blank.
- Update Entity (Y/N) = N.
- Click the F3 Update button.
- Close out of the Report Files window.
The template is now loaded and available for use in a report.
Create the report
There are several Excel report templates available which can be used to save to a file.
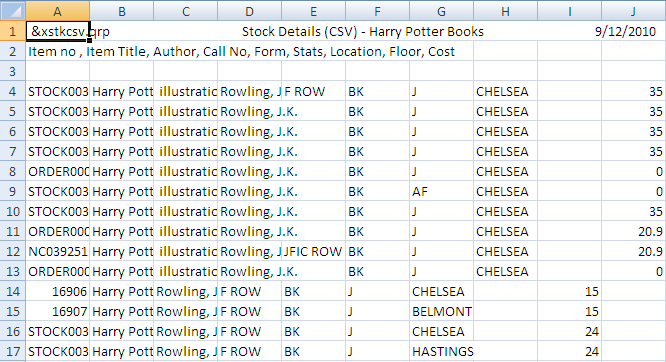
In this example, we are going to use the &XSTKCSV.QRP template in the Reports > RepStockitem module:
- Go to Main > Reports > RepStockitem. The Stockitem Reports screen will open.
- Click the F1 New button and select the &XSTKCSV.QRP template.
- Enter an appropriate Description and click the F3 Save button.
- Enter an appropriate – F7 Where search (e.g., Title LIKE Harry Potter).
- F9 Order the Report (e.g., Title | ASC).
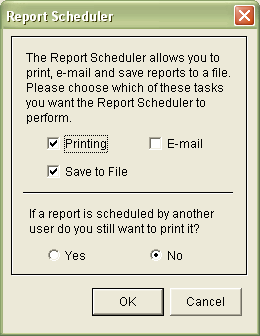
- Select Application > RepStartSchedule. Ensure that Save to File is ticked and click the OK button.
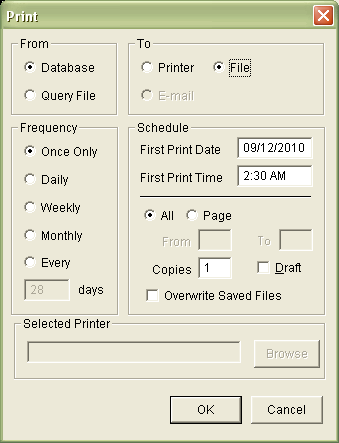
- Click the F6 Print button. Change the To: option to File and click the OK button.
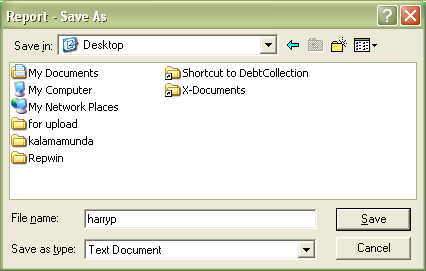
- A Report – Save As dialogue box will open:
- To save it for a Word document, leave the Save as type: as Rich Text Format (RTF).
- To be able to open it in Excel, change the Save as type: to Text Document.
- You can check the progress of your report in Reports > RepPrintProgress.
- If you’ve saved the report to open in Excel (Text Document) then you will need to follow these steps so it is displayed correctly:
- Open Microsoft Excel.
- Use File > Open to open the text file you’ve saved. Ensure that the Files of type: = All Files (*.*).
- The Text Import Wizard will open.
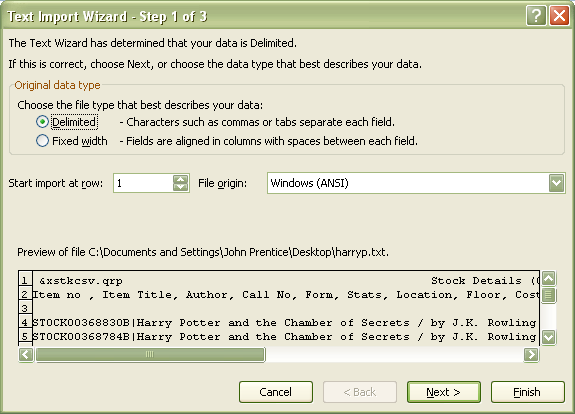
- Excel will recognise your file as Delimited, so click the Next button.
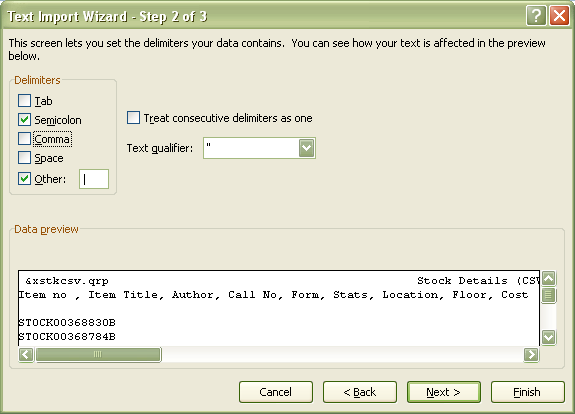
- Delimiters: Select Semicolon OR add a pipe | in the Other box (it is possible to use both if you don’t know which one the report is using but this may cause cell contents to be misaligned – so check carefully!).
- Click the Next button and then the Finish button.
- Your data will be transferred into the Excel sheet and you can now use the formatting tools to customise it: