Update as Loan
See also Query Results for details regarding the constant request information, standard buttons and request history.
Loan an item to your patron after receiving it from the supplying library
After receiving the requested item(s) from the the supplying, requests must be updated to Loan
- Retrieve the request to be updated.
- The Loan tab displays when a request is in a Scan or Update queue. See Query Results, Tabs for more information on the tabs that may display.
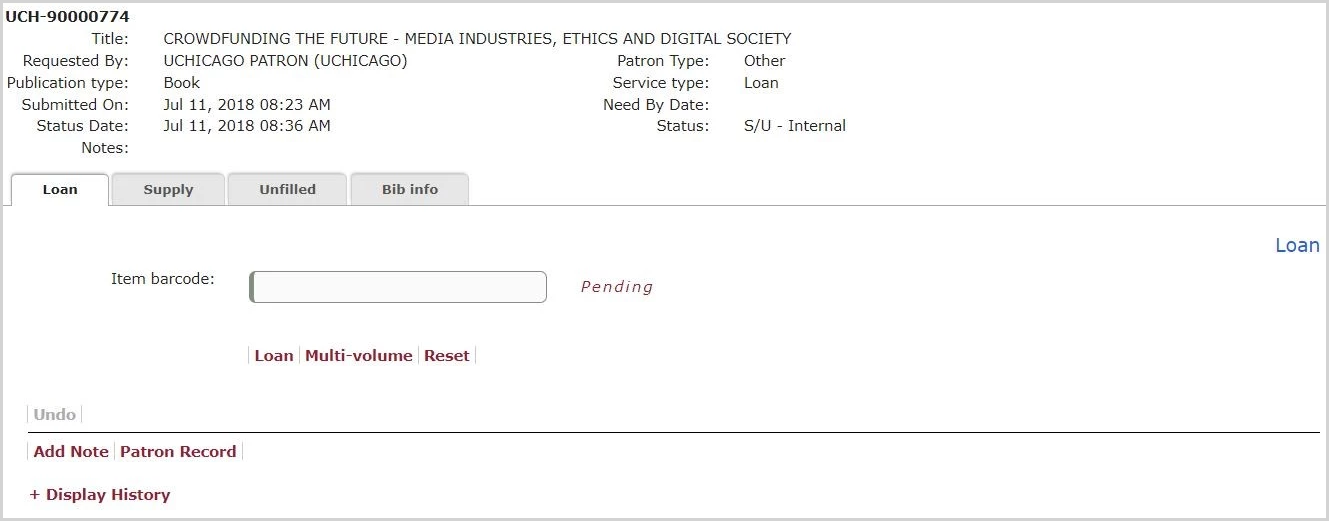
- Constant request information displays.
- Pending displays.
- The cursor is in the Barcode field.
- Enter the barcode as described below and click Loan or Enter.
- Loaned displays indicating that the update has been completed successfully.
- The request is updated in Relais as a Loan (LON).
- An audit record is added to the request.
- A loan tracking record is created in Relais.
- If NCIP or eSIP is enabled an NCIP AcceptItem message is generated and sent to the local library system to create a brief bib & item record and put the item on hold for the patron.
- If for some reason the AcceptItem message fails, a message displays:
- The NCIP AcceptItem update could not be completed in your library system.
Would you like to continue with the update in Relais?
If you select Yes, you will need to create the bib and item record manually in your library system.
Yes | No
- The NCIP AcceptItem update could not be completed in your library system.
- The cursor goes to the Exact Query input box (if your initial query returned a single request).
- The Request Number is highlighted so that the next Request Number can be wanded/typed in OR click Multi-volume to if there are multiple volumes to ship for the current request.
| Field | Description | NCIP notes |
|---|---|---|
| Barcode |
Mandatory. Key or wand in the barcode number for the item being loaned. Once the loan tracking record is created in Relais, the request can be retrieved using this barcode. |
If using NCIP the barcode entered depends on what is supported by your local library system. For example, you may be able to use the Relais request number as the barcode. This barcode is included in the AcceptItem message sent to the local library system. |
Loan multiple items for a single request
If there are multiple items to be loaned for one request:
- A message indicating the # of items shipped displays.
- A grid displays allowing barcode entry for each volume.
- Pending displays beside the first empty barcode field.
- The cursor is in first Barcode field in the grid.
| Input first barcode |
|
| Input subsequent barcode(s) |
|
| After last barcode |
Enter a new Request Number in Exact Query box OR Click Query to start a new search |
A separate loan tracking record is created for each physical item loaned.
If NCIP or eSIP is enabled NCIP AcceptItem messages are generated and sent to the local library system to create a brief bib & item record for each and put it on hold for the patron.
Auto fill the barcode
When a single item has been shipped for a request and a single barcode must be entered, it is possible to configure the Loan tab to auto fill the barcode with the request number. Contact your local Relais D2D Administrator to turn this option on for your library.
If this option is configured, when the Loan tab displays the barcode is pre-filled and updates the request automatically.
Note: When multiple items have been shipped for a single request, the auto fill option does not pre-fill the barcode field. A barcode must be entered for each item.
Auto process request
When the Auto fill barcode option is turned on, libraries can further configure the Loan tab to Auto-process the request. Contact your local Relais D2D Administrator to turn this option on for your library.
If this option is configured, when the Loan tab displays the barcode is pre-filled and an Auto-process checkbox will display to the right of the barcode field. Staff check the Auto-process checkbox to invoke auto-processing and click Loan. Each subsequent single item request processed will be auto processed. Auto-processing of a request will temporarily cease if a multi-part request is returned or the request retrieved is in a status other than to be received by the requesting library. Staff can turn off the auto-processing at any time by unchecking the checkbox.
Auto-processing of requests, if enabled, occurs only when a single request is returned through Query Request. If a list of requests is returned from the Advanced Search OR from a queue in the Side Menu, the ability to auto-process is not enabled.
Auto removal of diacritics
If you are using NCIP or eSIP and your NCIP/eSIP server cannot create a temporary bib record if the title or author if the AcceptItem message includes diacritics. An option to remove some diacritics automatically, when in use, Relais removes some diacritics prior to generating the AcceptItem message.
Note: Diacritics are removed only from UTF-8 strings containing Latin alphabets. UTF-8 strings containing non Latin alphabets such as, Chinese or Arabic must be removed manually using the Bib Info tab.
For example:
| Original title/author | After diacritics removed |
|---|---|
| L'Étoile du Sud | L'Etoile du Sud |
| Jean François Paschal Grousset | Jean Francois Paschal Grousset |
| Örtlich betäubt | Ortlich betaubt |
| Günter Wilhelm Grass | Gunter Wilhelm Grass |
| Núria Añó | Nuria Ano |
| Núvols baixos (Low Clouds) | Nuvols baixos (Low Clouds) |
Contact your local Relais D2D Administrator to turn on this option for your library.
Undo Loan
If you update a request as Loan in error it is possible to undo the update.
Immediately after updating the request as Loan, the Undo button is enabled.
- After clicking Undo, the following message displays
- Are you sure you want to undo the Loan?
Yes | No
- Are you sure you want to undo the Loan?
- Click Yes to reverse the update in Relais. The Loan can be done again or another request retrieved.
Caution: If you are using NCIP, the Undo action does not reverse the AcceptItem message that was sent and so the brief bib and item record that were created when the loan was done must be removed from the local system manually.
For a multi-volume loan, undo each item separately:
- In the grid, select the barcode and click Undo.
- Repeat this for each item for which the Receive Loan needs to reversed.
If you have left this request, e,g., to update another request, then it is necessary to first Reopen the request prior to Undo.
- When the request is retrieved and opened the Return Loan tab displays.
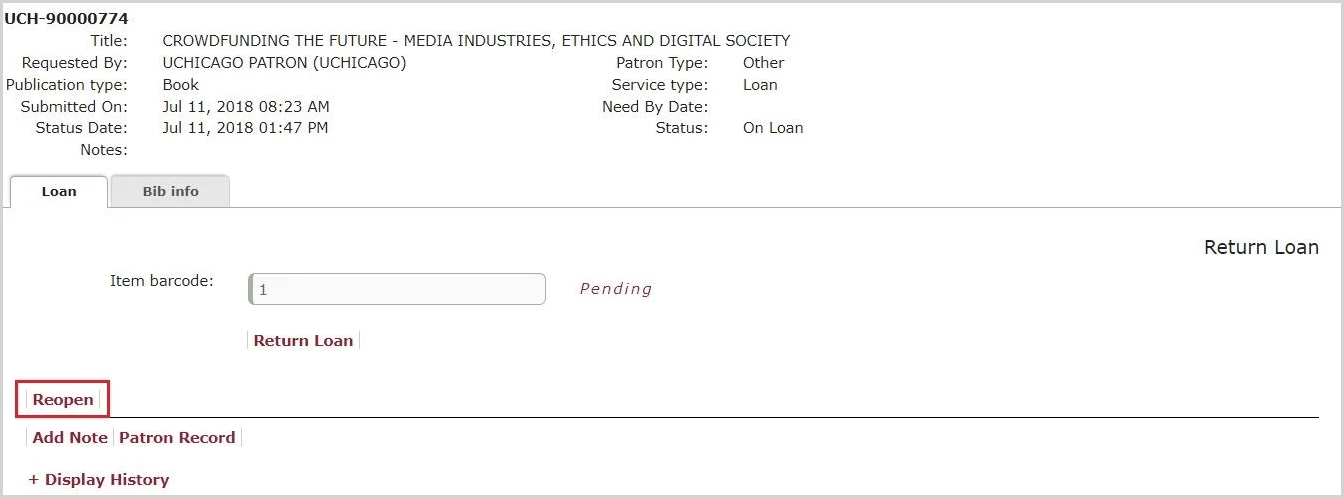
- Click Reopen to display Loan.
- Click Undo.
- At this point the Loan can be completed.