Replace multiple items in a collection
Replace multiple files within a collection using the Project Client Find in Collection tab to locate and download items into your Project Client project. Then, use the Replace Multiple Items function to replace the items in the project spreadsheet. When you have finished working with items, they must be uploaded to the pending queue for approval to be added to the collection database.
Use Replace Multiple Items when you have more than a few files to be replaced within a collection. Use the Metadata Templates to add or replace metadata when the items are replaced in the project spreadsheet. Metadata from the original item is retained, but can be edited, unless it is within fields that are altered using the Metadata Templates, in which case the data will also be replaced.
Note: The replace operation does not support compound objects or archival files saved in volumes. Any archival files stored in volumes must be replaced manually.
Note: You cannot replace PDF compound objects using the Project Client. To replace a PDF compound object, you must delete the compound object from the collection and then import a new or revised multiple-page PDF file. Multiple-page PDF files are automatically converted to compound objects when PDF conversion is enabled.
Three examples below show how the Replace Multiple Items function can be used:
-
A selection of images within a collection may have been scanned at a low resolution. After creating new high resolution scans, use Replace Multiple Items to swap the low-quality scans with higher-quality images, while the metadata remains unchanged.
-
Items that contain only metadata may have been added to a collection to serve as placeholders. Use Replace Multiple Items to add digital files to these metadata records.
After images or items are replaced in your project, upload the items to the pending queue. The administrator must approve the items and build the text index to complete the process of adding the replacement files to a collection.
Before you begin
- To replace multiple items, the files that you are using to replace the original must be saved in a single directory on a local machine or on a mapped network drive.
- Items with files you wish to replace must be in the Project Client project spreadsheet, located on the Project tab.
- There must be mapping (or correspondence) between the item metadata in the Project Client and the file names of the replacement files. A specified metadata field should contain the root file name for the replacement item. This mapping should be planned in advance of replacing multiple files. In the example below, the Identifier metadata field in the spreadsheet corresponds to the replacement items in the local directory.
Example:
| Project Client | Local Directory |
|---|---|
| Identifier metadata field contents: 101 102 103 104 105 522 |
Replacement file names: 101.jpg 102.jpg 103.mpg 104.gif 105.jpg |
The final item in the Project Client with 522 in the Identifier field would not be replaced during the replace operation because there is no corresponding root file name in the replacement files. In this way, file replacement can be restricted only to items with metadata mapped to the replacement files.
Replace multiple files in the Project tab
When you begin this procedure, the files that you wish to replace must be in the project spreadsheet on the Project tab. For more information, see Edit items in a collection.
Note: Do not open any of the items in separate, Item Editing tabs.
- From the project spreadsheet, select the items by checking the checkboxes in the item rows.
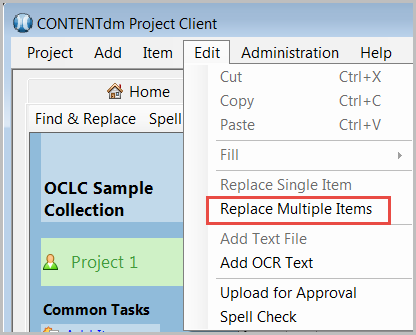
- From the Edit menu, click Replace Multiple Items. The Replace Items dialog displays.
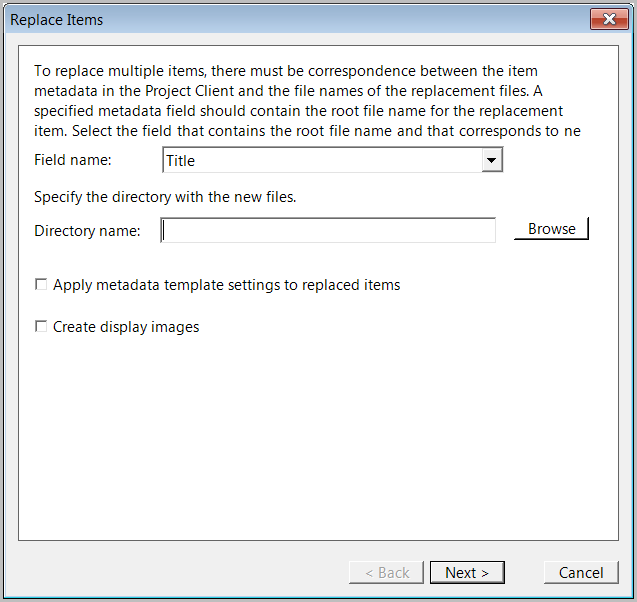
- Select a metadata field that will map the new, replacement file names to the items in the project spreadsheet.
- Click Browse to specify the directory containing the new files that will replace your existing files. Click OK.
- To replace the information in the current metadata fields with a metadata template, select Apply Metadata Template Settings to Replaced Items.
- Click Next. The Confirm Settings screen displays.
- Confirm your settings and click Finish. A progress screen displays as the replacement processes and then a summary screen lists the number and names of items replaced and any warnings or errors.
- Click Close. The new, replacement items appear in the project spreadsheet.
- Edit the metadata to make additional changes.
- When you have finished, select the items in the project spreadsheet and click Upload for Approval to add the items in the project spreadsheet to the pending queue. The items must be approved by an administrator who will add them to the collection and build the text index.
For information on approving and indexing items see Approve items and Build the text index.