Synchronise titles with CONTENTdm
Once OLIB has a Media Type, Title Set and Output Format configured for your digital collection, you can start synchronising OLIB catalogue records with your CONTENTdm collection.
CONTENTdm attributes in the Titles domain
The system manager needs to add CONTENTdm attributes to the correct Titles layout using Layout Manager.
The attributes are:
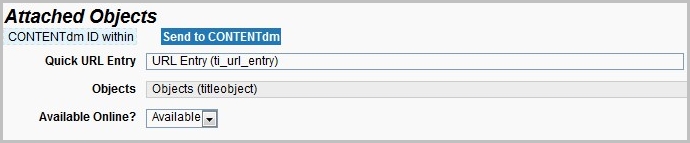
- Send to CDM: you use this button to send the Create/Edit or Delete request on demand to CONTENTdm
- CONTENTdm ID within collection: this holds the identifier which CONTENTdm uses within the collection
A suggested position is within the Attached Objects section of Related Items and Control Data sheet:
Create Title and synchronise with CONTENTdm
- Go to Titles and click new record as normal.
- Select the correct Media Type from the drop down.
- Catalogue using the required fields on the Main sheet.
- Save and Continue.
- Click the Send to CONTENTdm button.
- If successful, OLIB responds with a message indicating the record has been sent to CDM for approval, and displaying Your Approval Queue link.
- At this stage, the record has only been added to the Approval Queue in CONTENTdm. You will need to process it in the Approval Queue to add it properly to the collection in CONTENTdm - click the Your Approval Queue link in OLIB.
- You may be asked to login to the CONTENTdm server using your suitably privileged WorldCat username and password.
- On completion, in a separate tab of your web browser, the CONTENTdm Approval Queue is displayed:
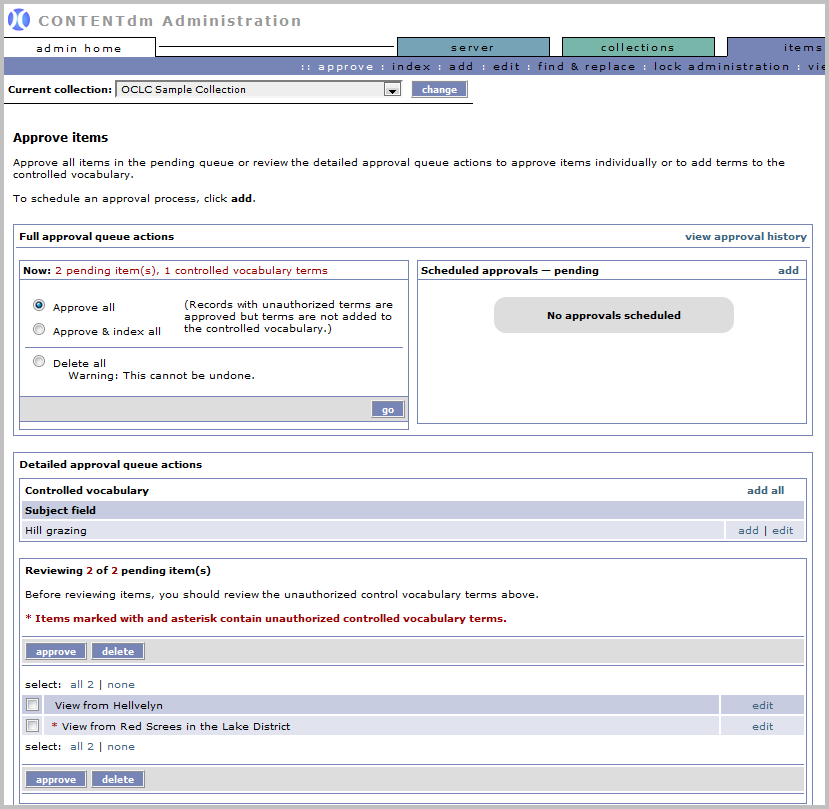
The new items are shown at the bottom of the screen.
- To approve them, simply tick the checkbox and click the approve button. (Alternatively, you can go to CONTENTdm later and approve several records at once, so that you don’t have to hop between one system and the other if you are cataloguing several items). Note that if the collection uses a controlled list for any fields, such as Subject, the values will be validated against the list and may be rejected pending manual intervention.
Once the new records have been approved, they will be indexed automatically in accordance with the indexing schedule. (However, you can force a re-index immediately by clicking the index option in the CONTENTdm Administration menu).
- After the record has been approved, you upload the actual file to CONTENTdm. You use the CONTENTdm Project Client to do this.
Subsequently, after Daystart has run, data will have been synchronised with the OLIB Title record: the Object field will include the link to the digital file and associated metadata in CONTENTdm; the CONTENTdm ID Within Collection field will also be populated.
Tip: verify this, checking that the Object link added to the Title correctly navigates to the record in CONTENTdm.
The data will also be displayed in Folio.
Remove a record from CONTENTdm
Simply deleting the Title from OLIB will cause Daystart to remove the record from CONTENTdm.
Alternatively you can use this method to remove the item from CONTENTdm immediately.
- In OLIB obtain the Title and go to the Related Items and Control data sheet.
- Switch to modify and from the OPAC Push Status drop down, select Remove Record / All Holdings.
- From OPAC Status Info, check the box of the output format name and select the Synchronise with OPAC Now action.
- When prompted click the usual Your Approval Queue link to the CONTENTdm admin site and re-index the collection.
Verify that this item is no longer visible in CONTENTdm.
Modify a record synchronised with CONTENTdm
After you edit a record in OLIB, there is no Daystart process to automatically update the record in CONTENTdm.
- In OLIB obtain the Title and modify as required.
- Click Save and Continue and then click the Send to CDM button.
- When prompted click the given link to the CONTENTdm admin site and re-index the collection.
- Verify that the edit shows in CONTENTdm.